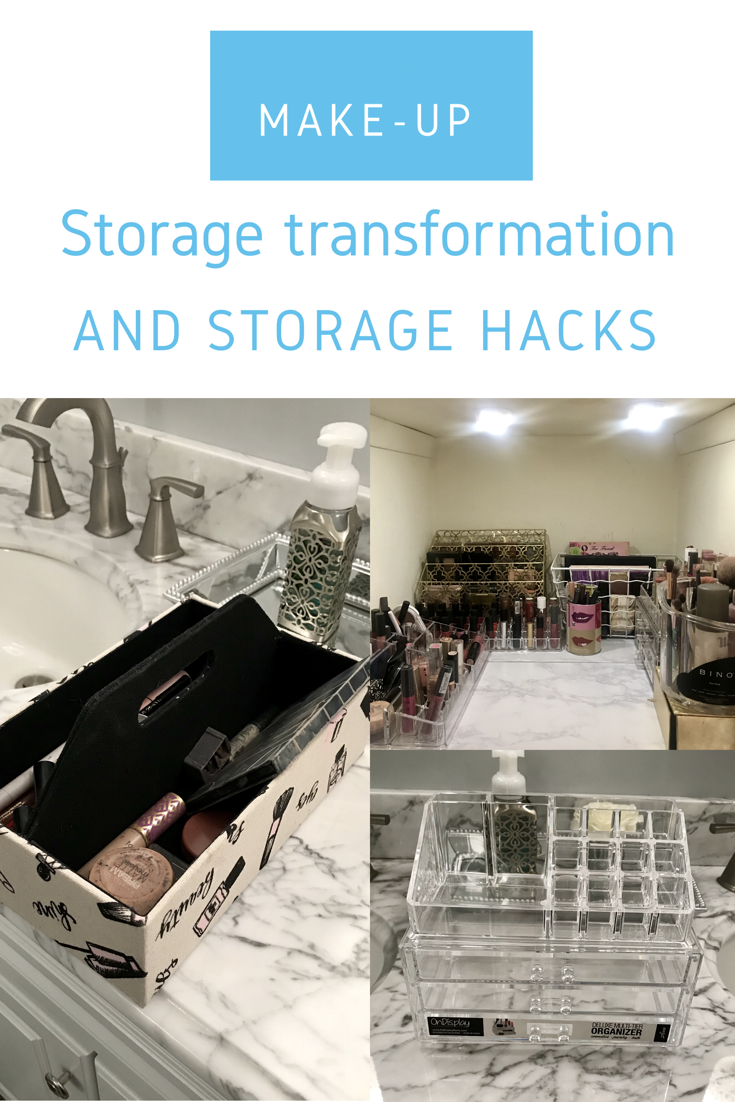
Make-Up Storage Hacks and My Make-Up Storage Transformation
Now that I've lived in my house for nearly three years, that just moved in and super organized feeling has gone away. When I first moved in all of my stuff in August 2015, I had purged a bunch of items and everything had its own neat little place. Now, things sometimes get placed haphazardly, things start to clutter and pile up, and the more stuff I obtain, the less space I find I have.
My initial organization idea for my make-up was using a trunk case. I used that for nearly five years, as it was a heavy, good quality one from Sephora. My use of that definitely decreased after I redid my bathroom. As I invested in marble countertops, I began to take very good care of them and the idea of busting out my heavy trunk case covered in make up and putting it on my brand new marble countertops just didn't appeal to me. In addition, I began to accumulate more make-up, and the trunk case was just not working anymore. I have a ton of eyeshadow palettes, and they just don't easily fit or are visually accessible in the trunk case. Plus, since I wasn't really bringing out my make-up storage, all the make up I had in there I just was not using.
I'm a person who likes to have all my options available, especially when it comes to clothes and make-up. I like to be able to see what I have, which allows me to use what I have and create so many different looks!
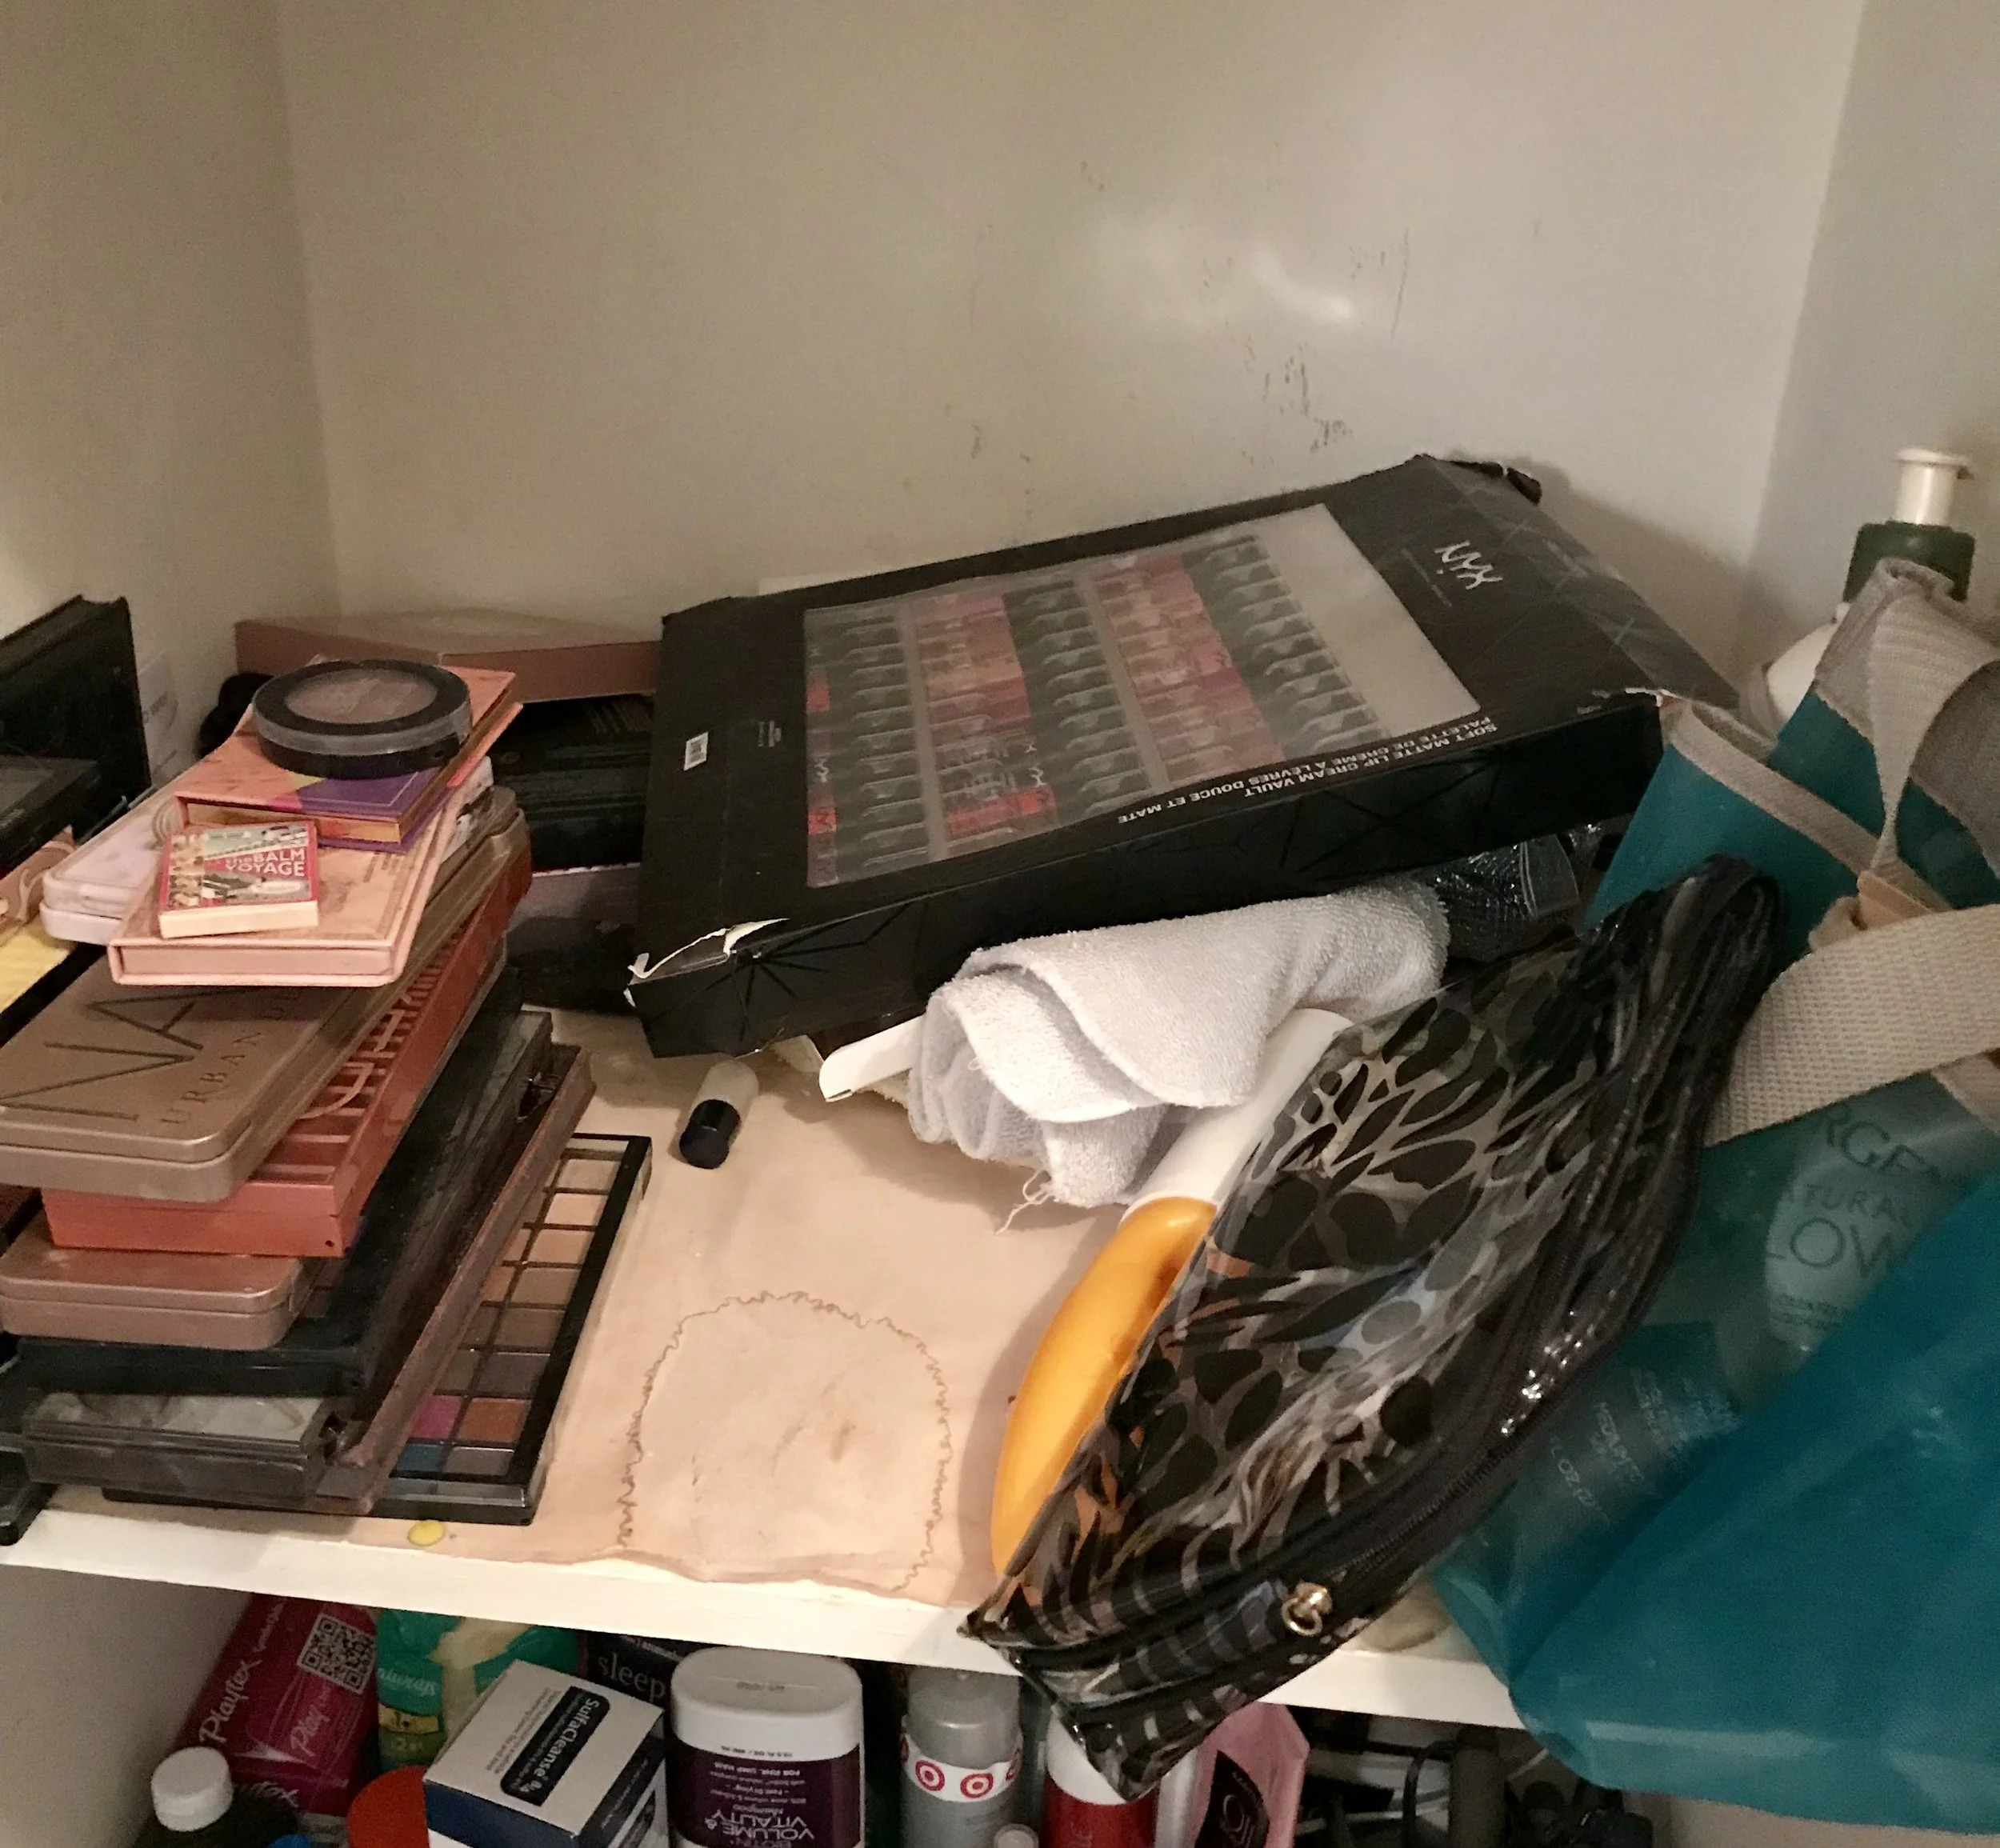
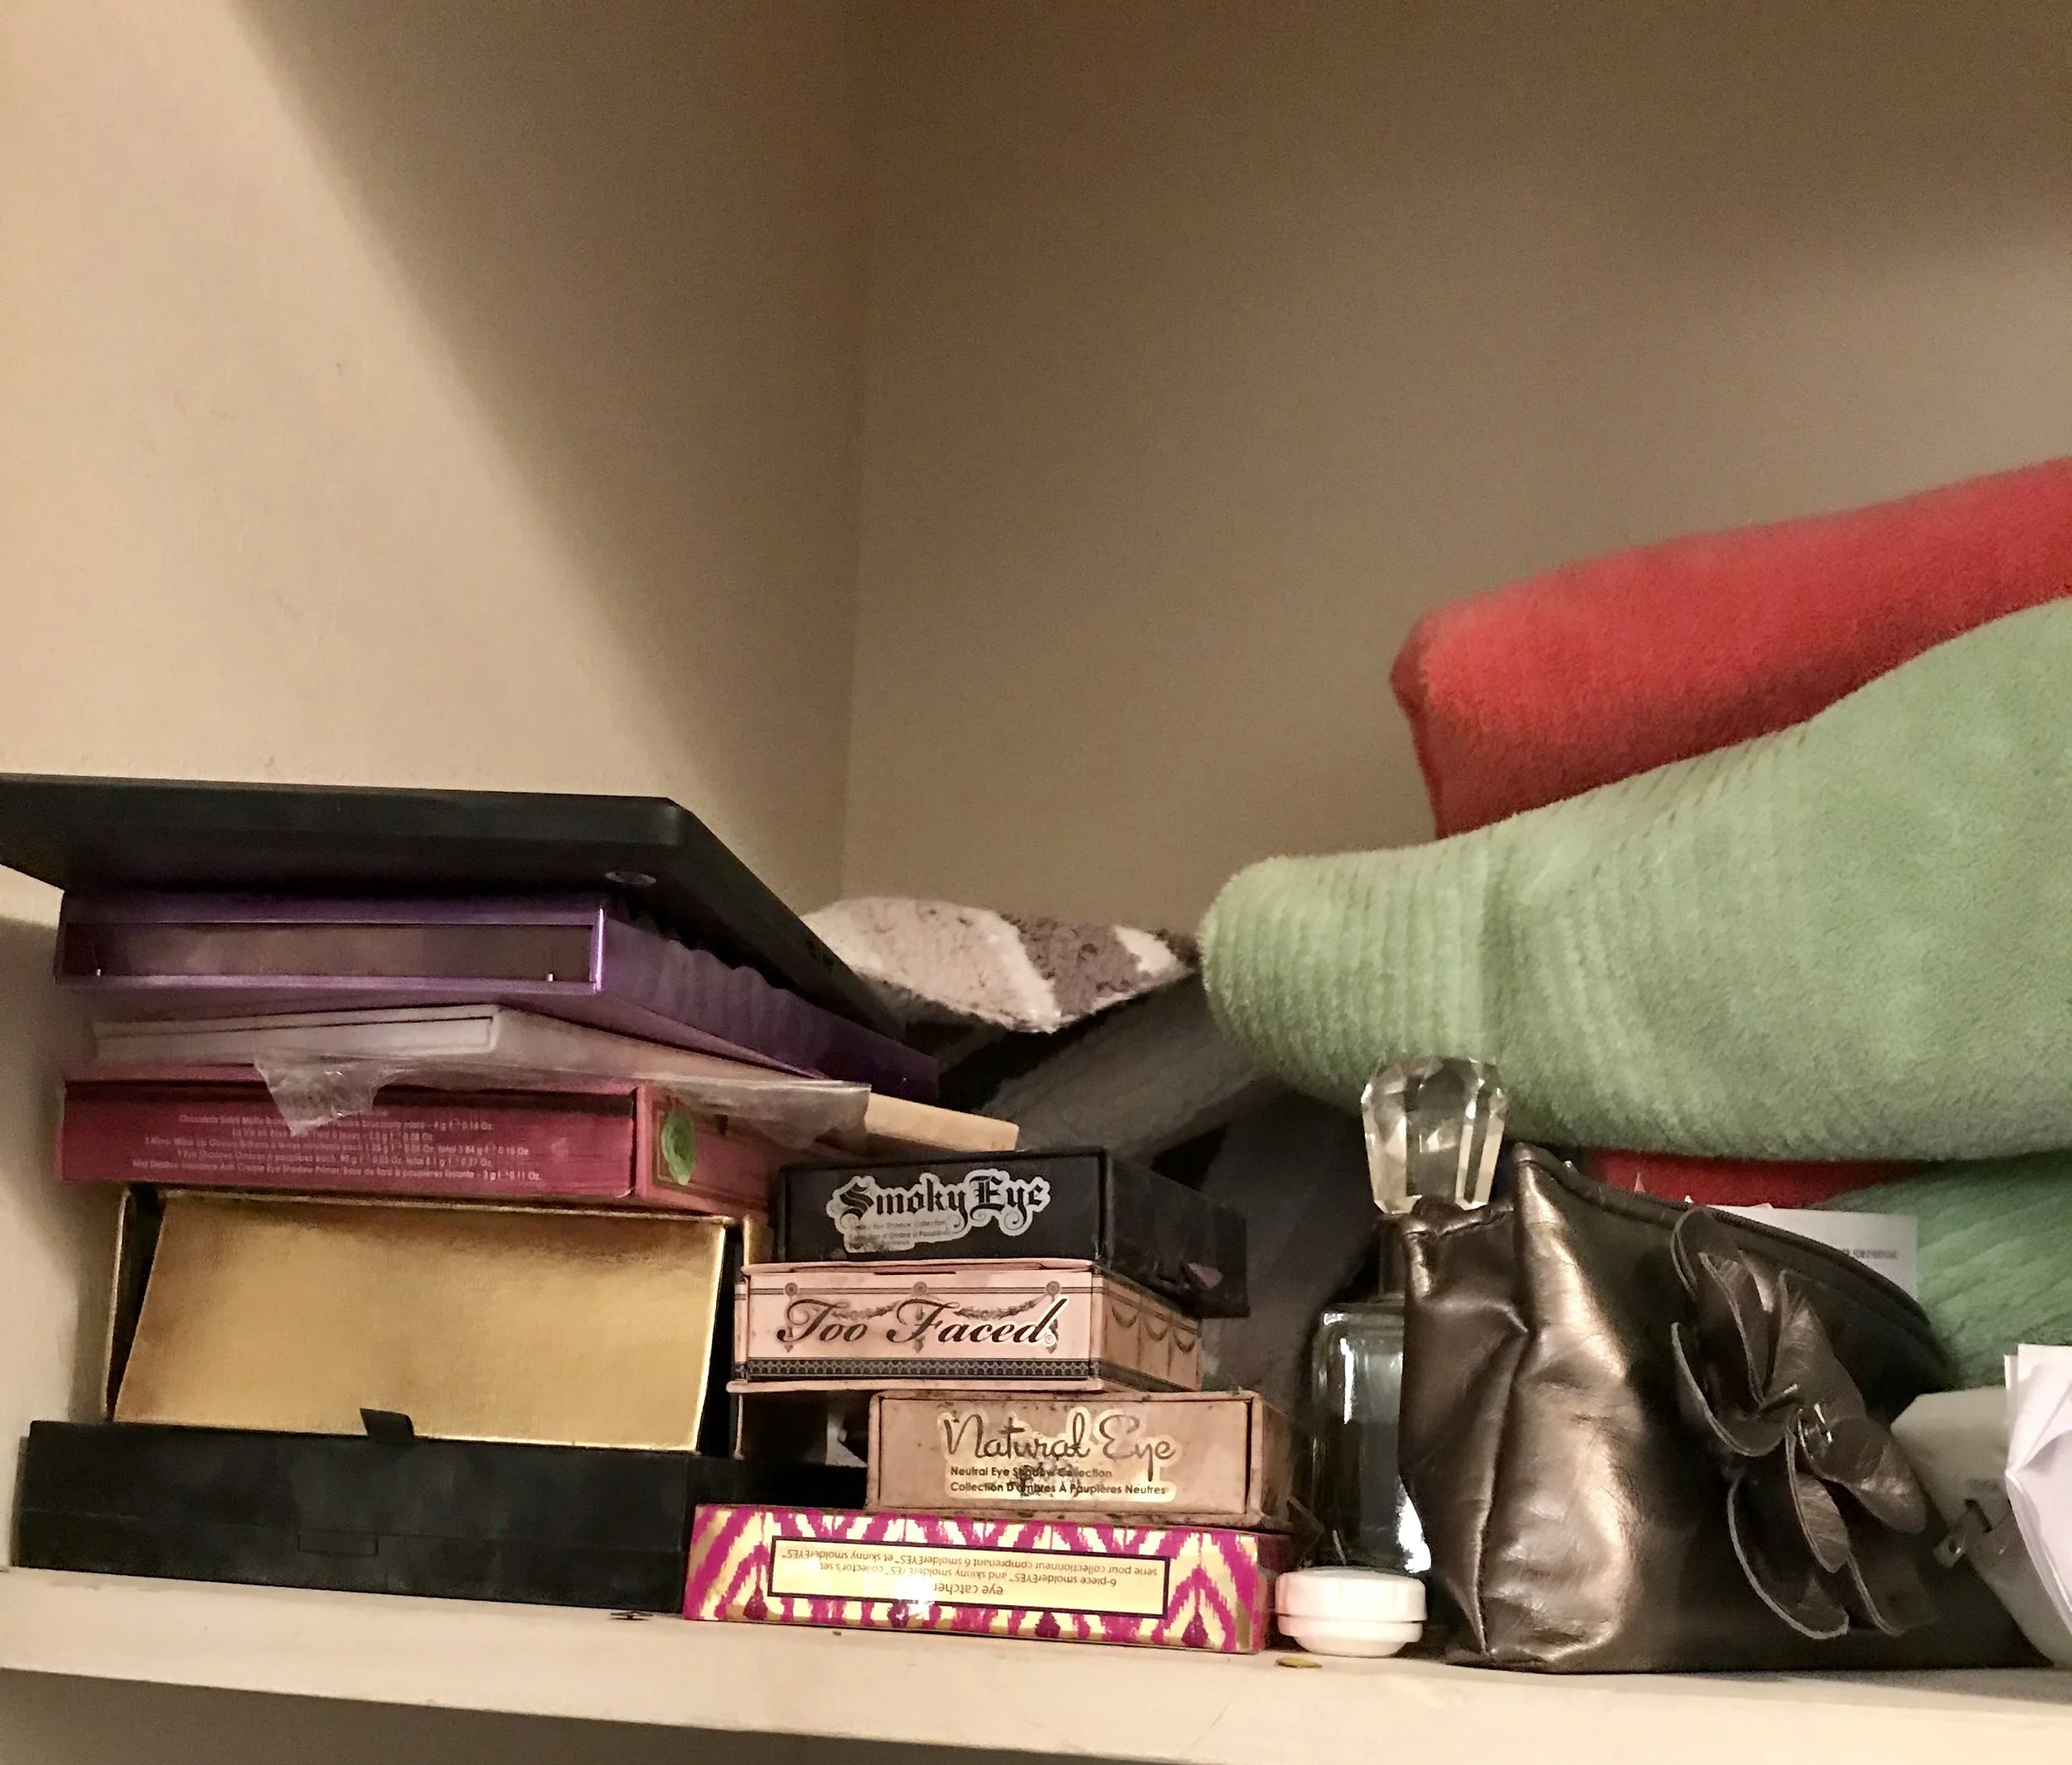
What I was doing for storing some of my eyeshadow palettes and the make-up I was consistently using was: 1) areas in my linen closet and 2) one drawer in my vanity. It worked, as I was able to get to the make-up I was using daily; however, my drawer was getting too full, I dropped and broke a few eyeshadows in my palette as they were just being stacked too high, and I just couldn't see what I had.
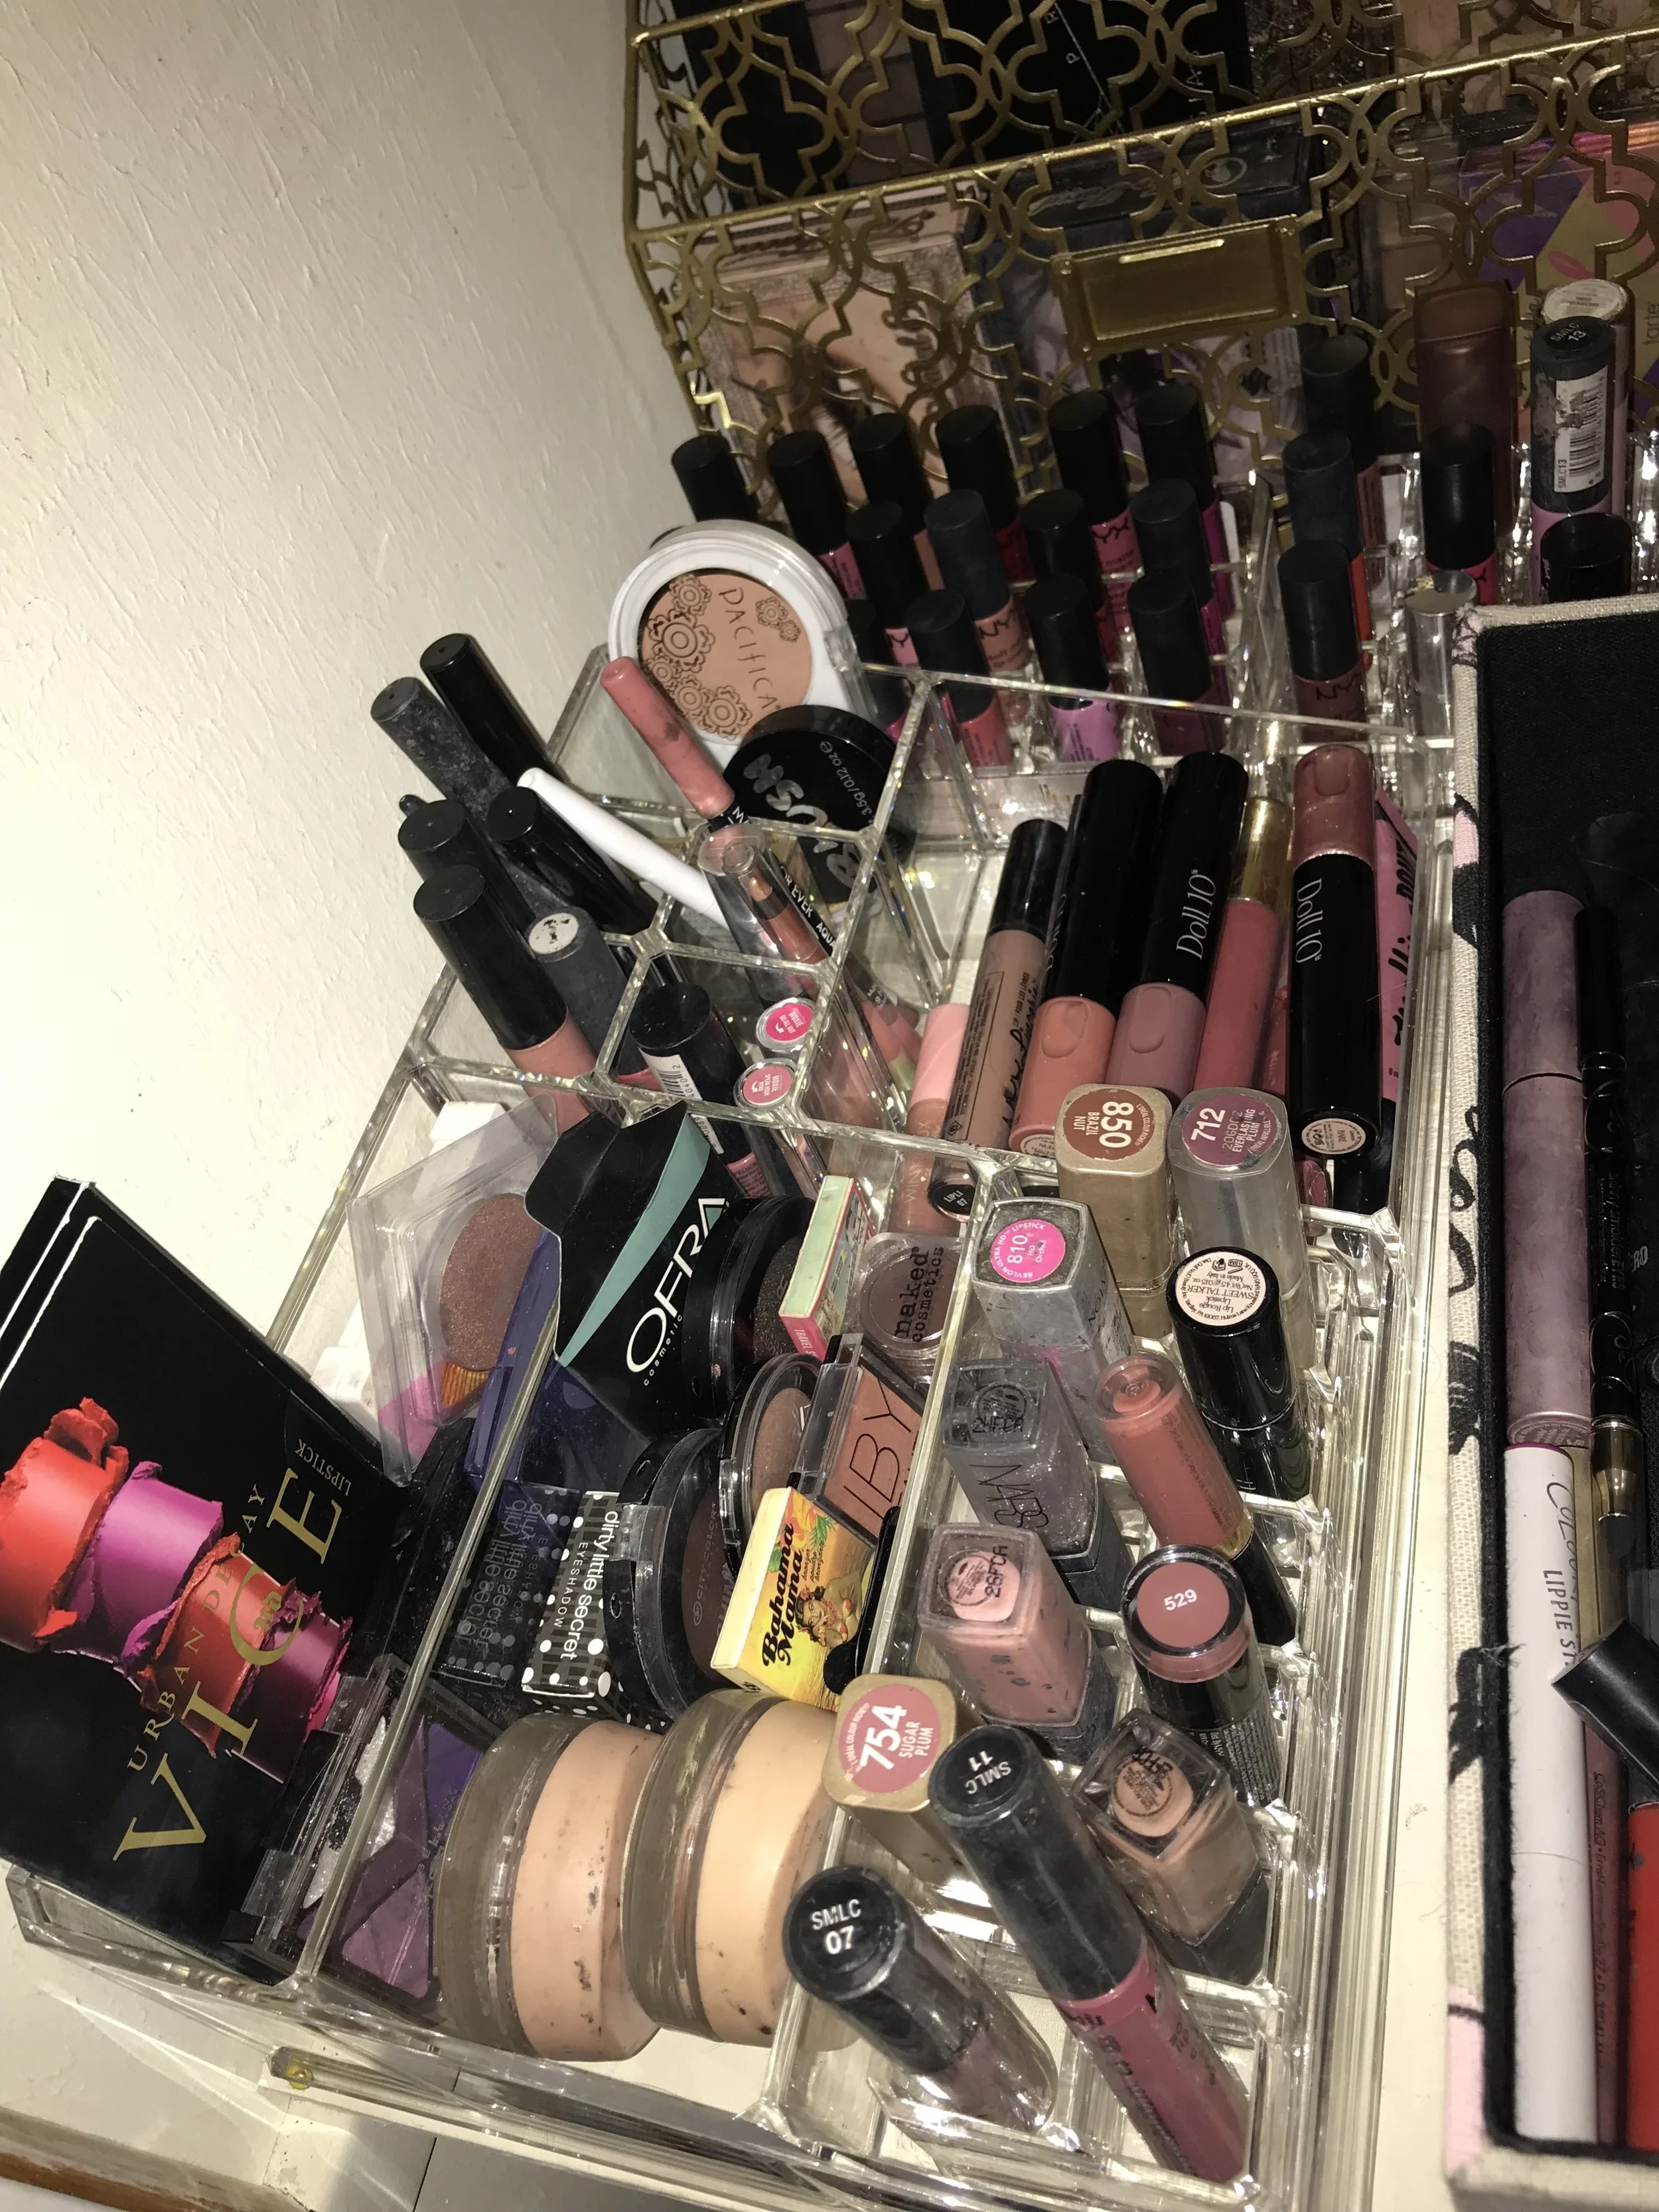
One random shelf of stuff that looked messy!
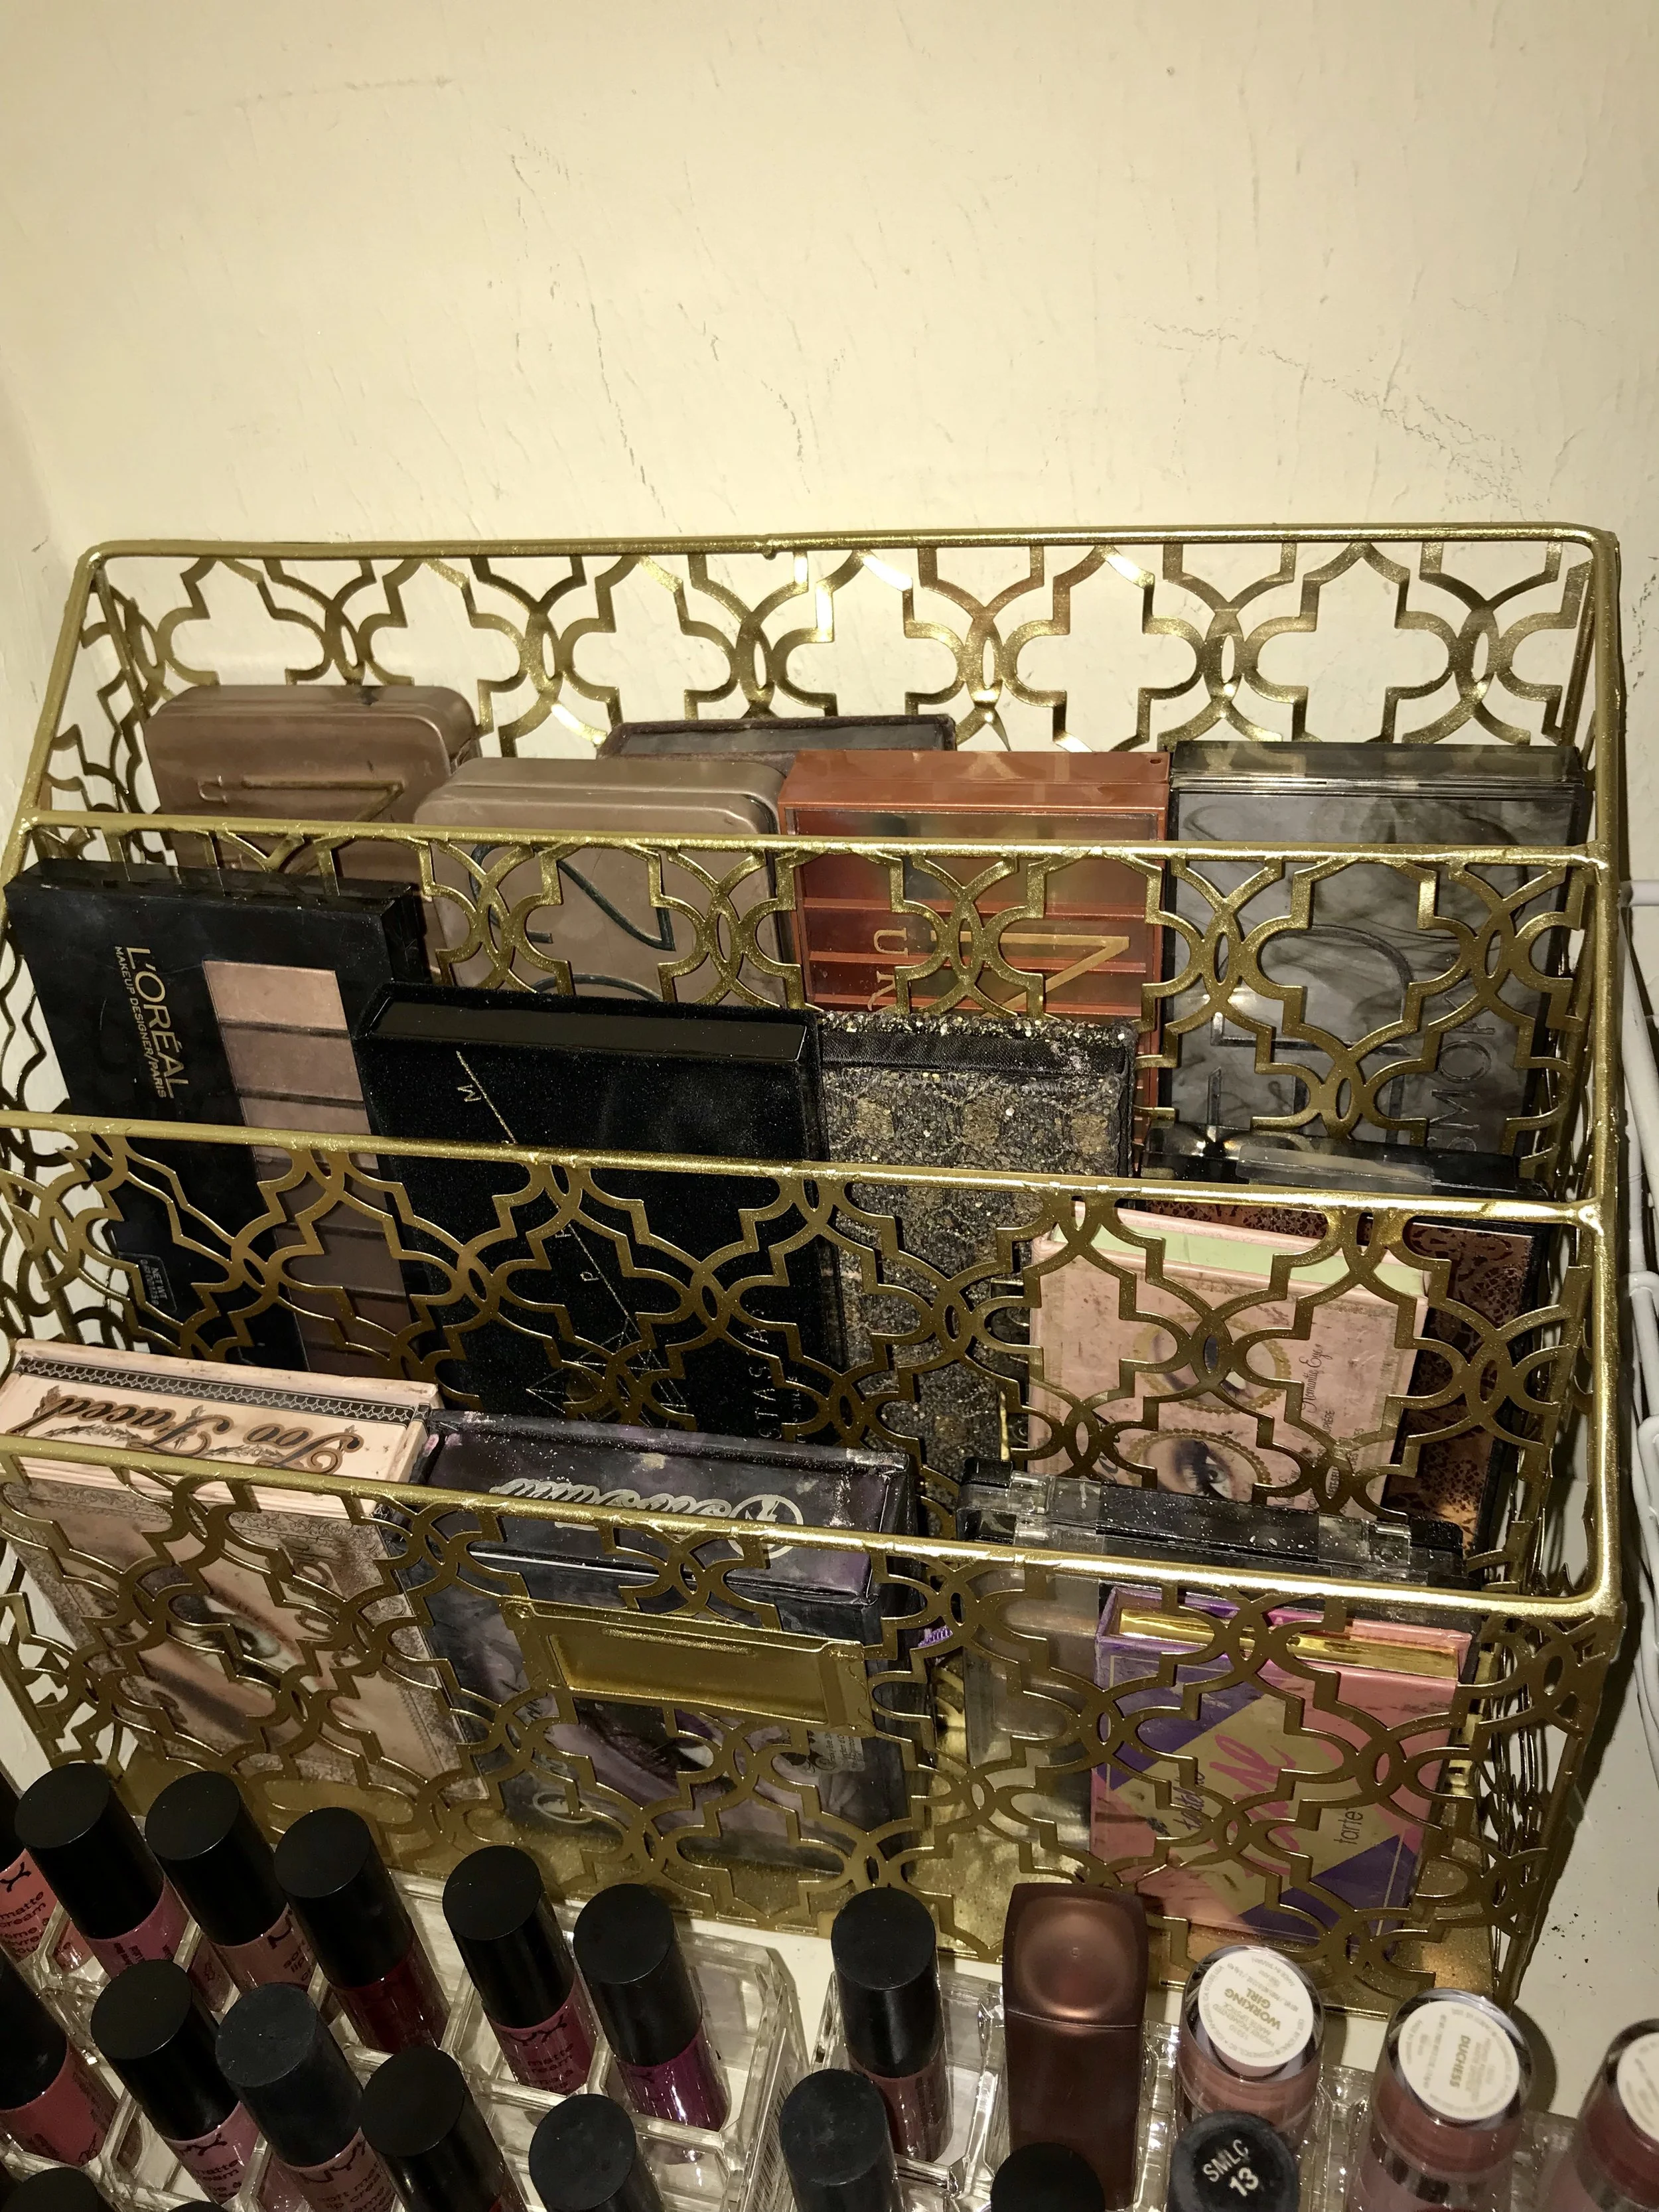
My stacked palettes which led to broken make-up!
As you can see, this was just not the best way to store make-up. It was messy, led to ruined make-up, and I was not using what I had.
Even though many women use counter space for make-up, that is just not me. I do not like clutter on my countertops and like to keep my bathroom space as nice as possible when I'm not there. As I mentioned above, I'm also trying to maintain the look of my beautiful marble countertops. I started to brainstorm a way to store my make-up that would be clean, neat, and allow me to see what I had. As a result, I decided to dedicate one shelf in my linen closet to make-up storage. I already was using almost two shelves, and I did have the space.
I understand that this may not be the best option for all of my readers, especially if closet space is a hot commodity or you share that space with multiple family members. If this is not an option, I hope that some of my ideas give you some inspiration to be creative with space OR give you unique options or ways to store your make-up!
As I was starting to think about how I wanted that space to look, I wanted to use storage containers that were cute, attractive, unique, and stored make-up in a compact way but also allowed for visibility and organization! I stopped at my local TJ Maxx and bought all of my storage containers there!
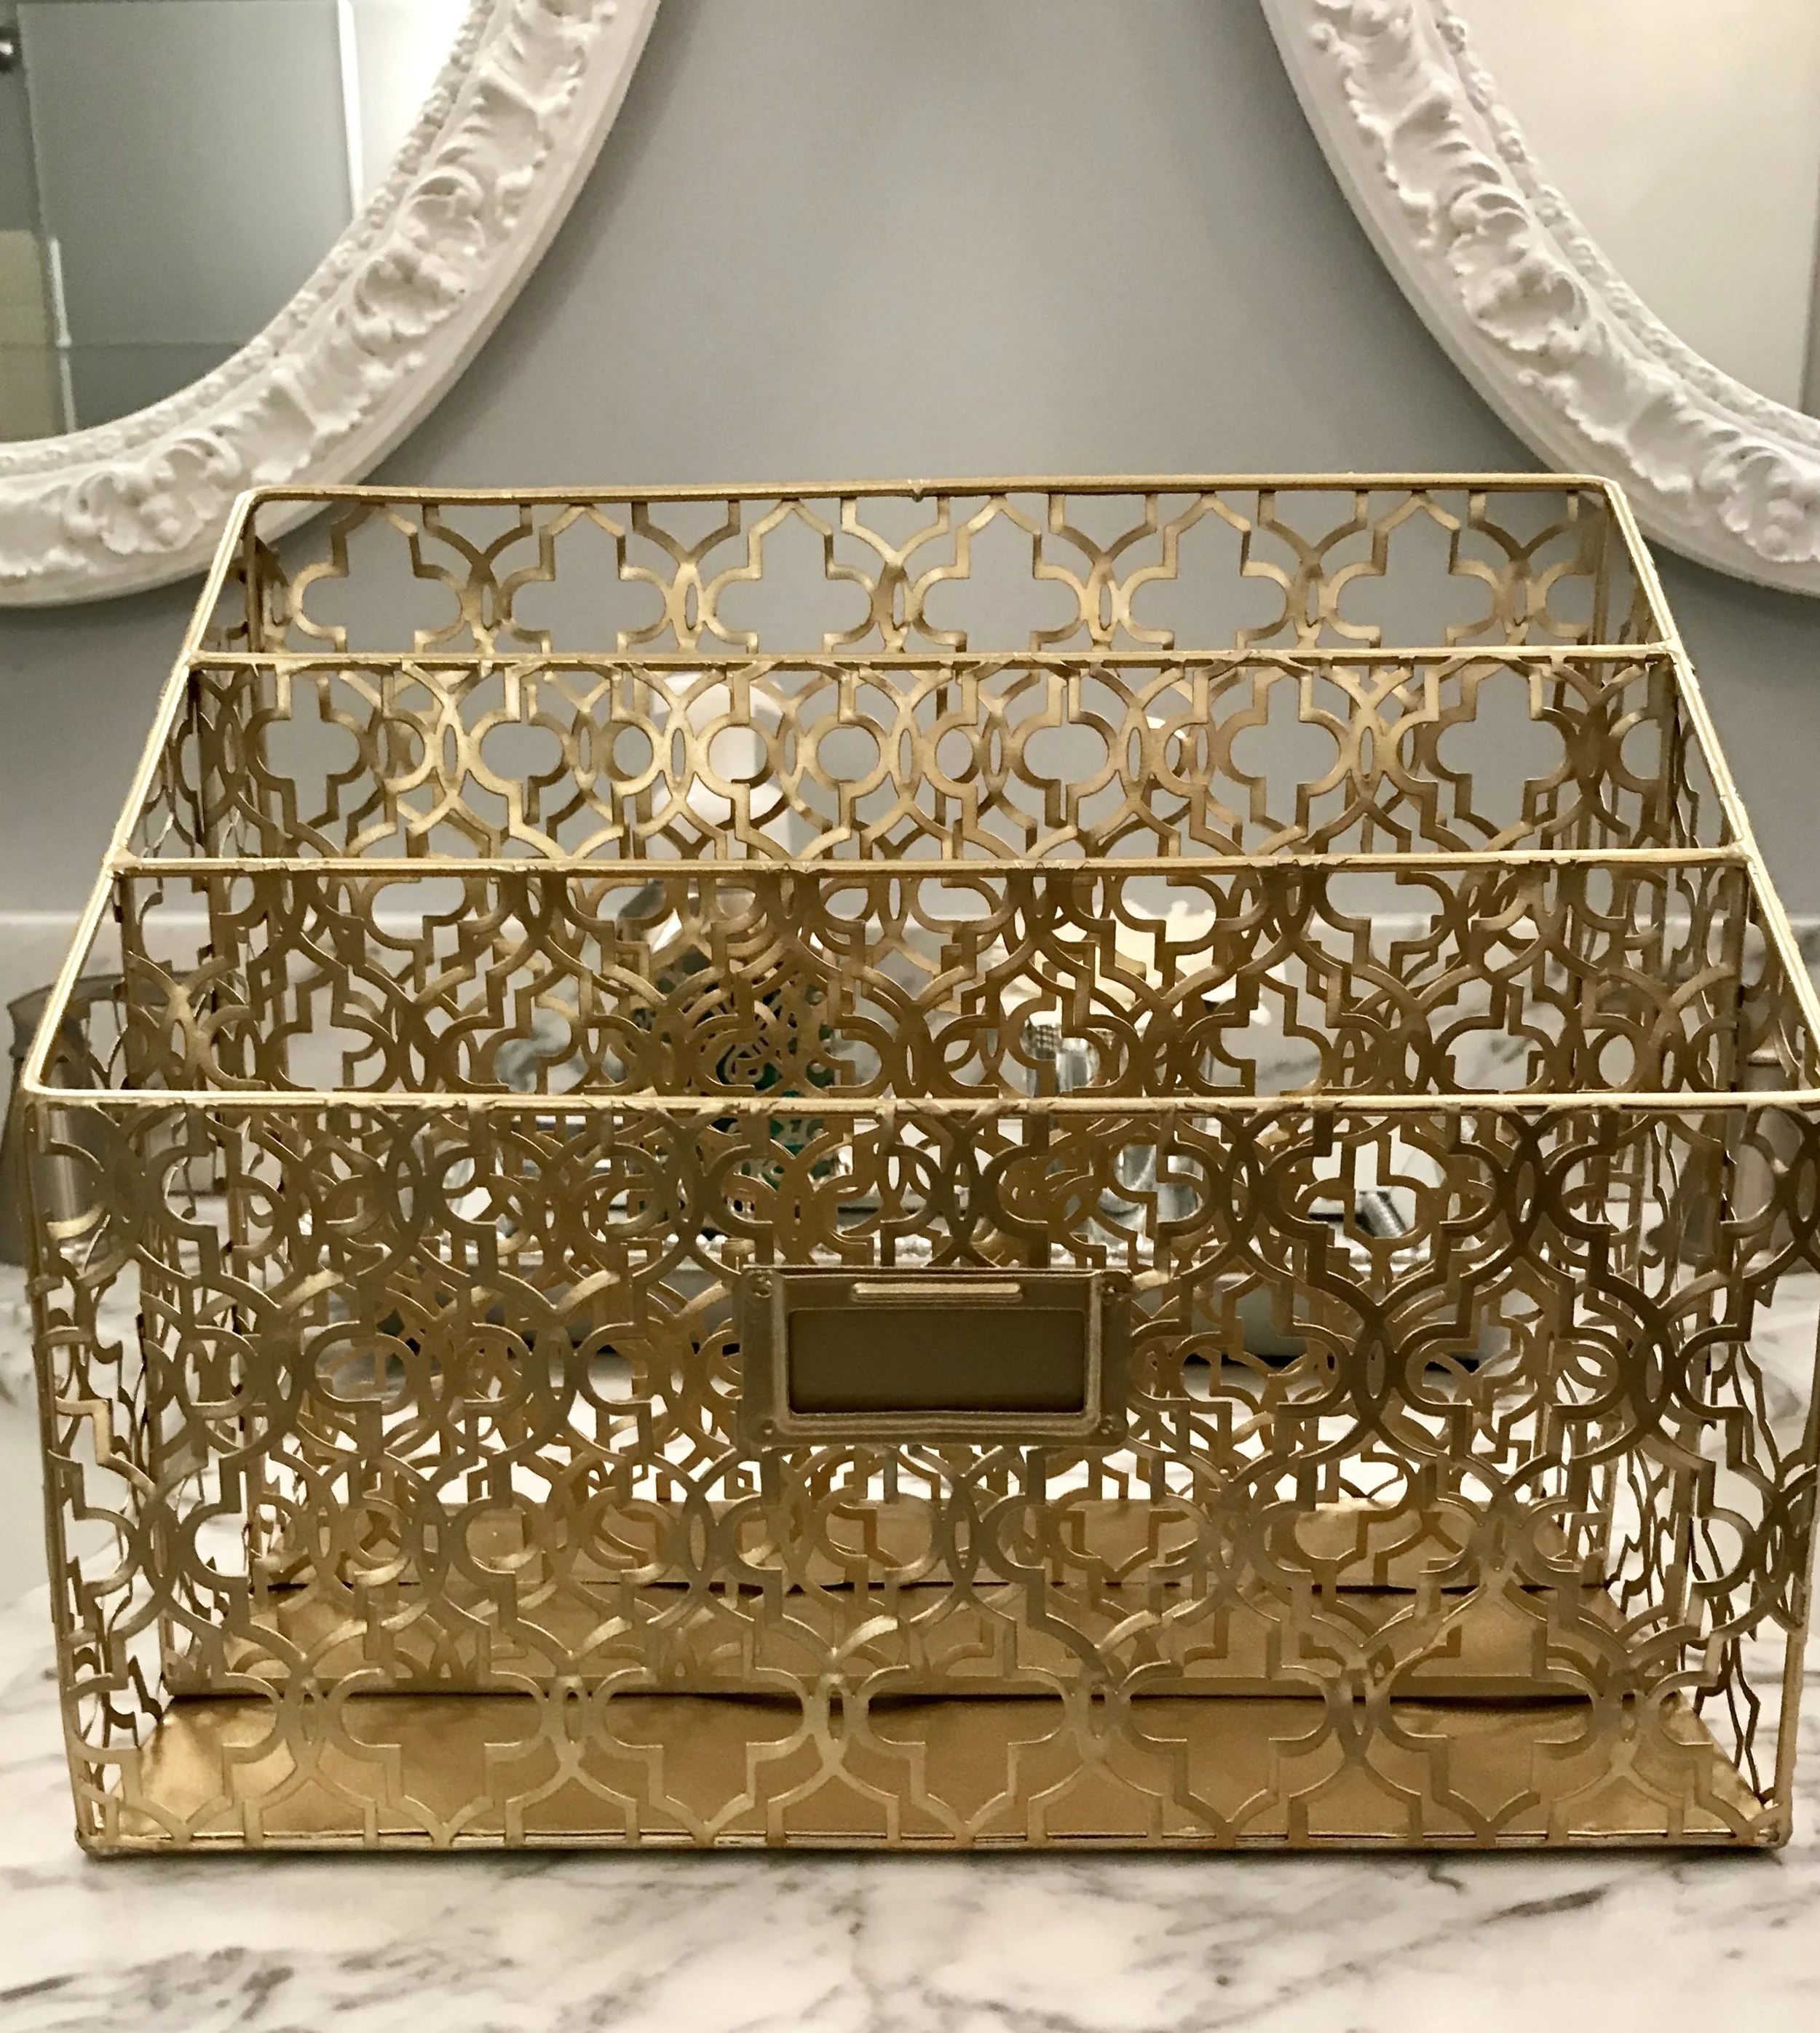
Here are the items I bought:
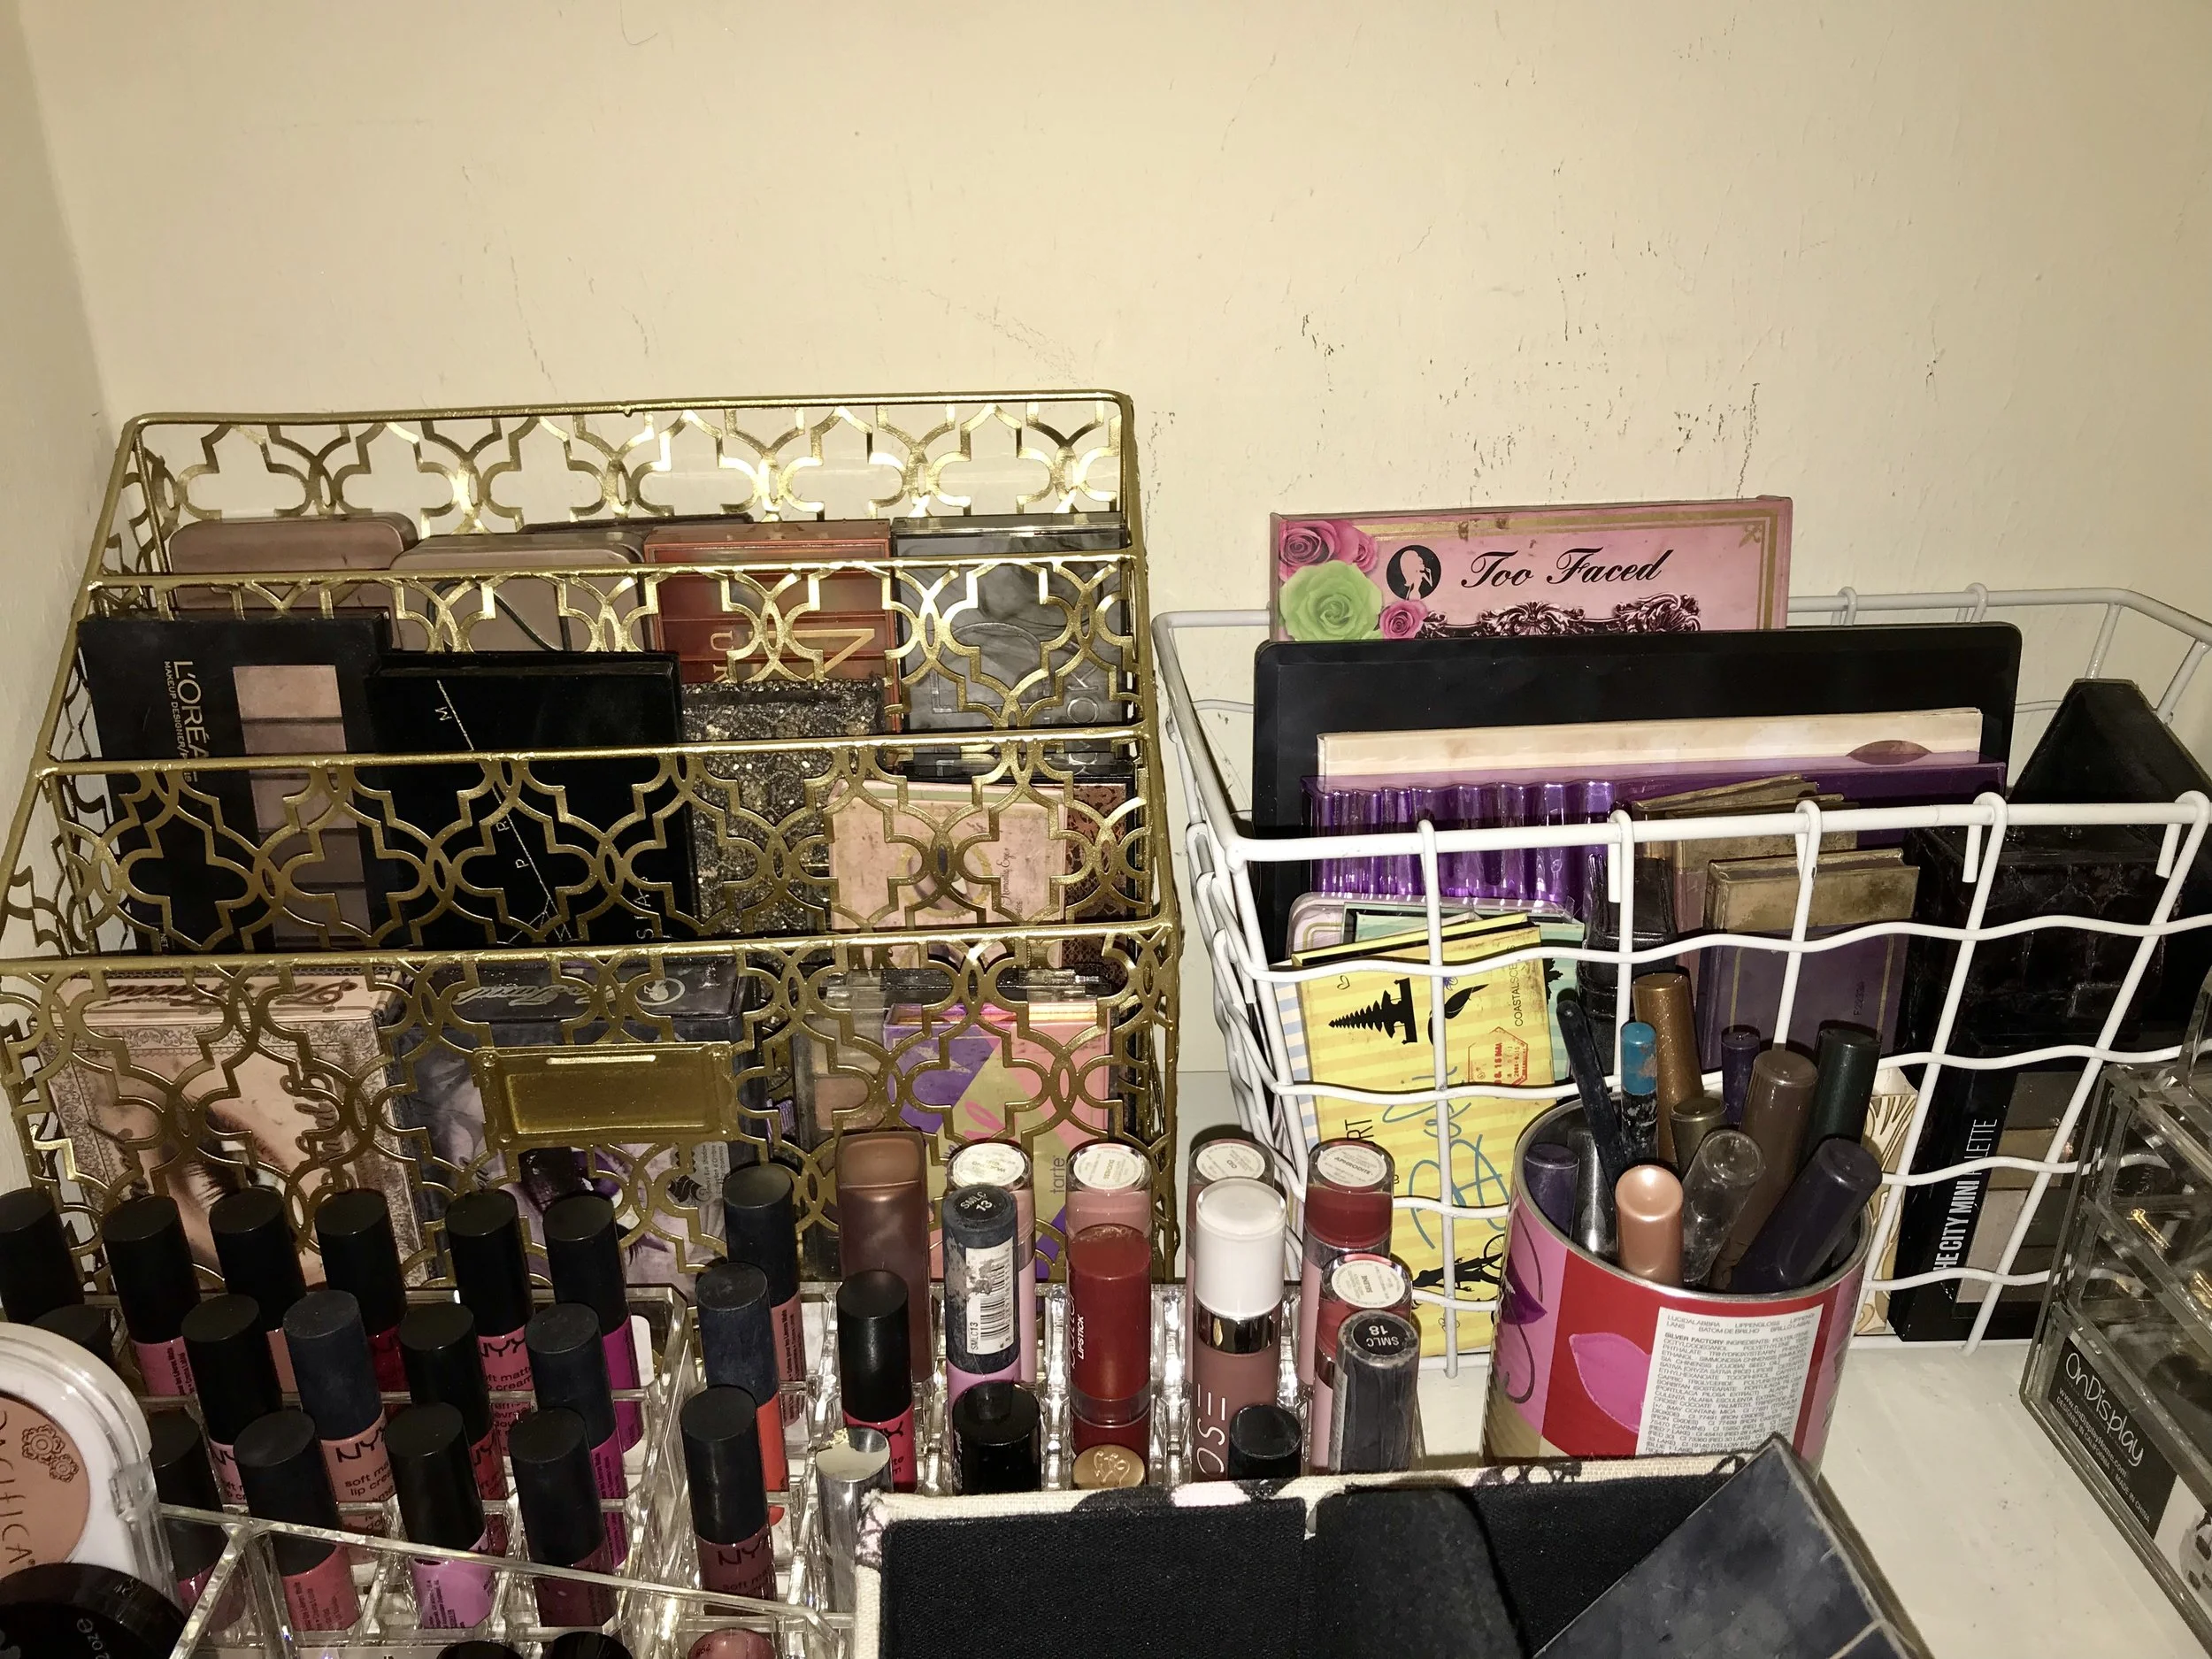
This is actually an office item to store papers and files. I liked the gold look of it and thought it would be a good way to line up my eyeshadow palettes.
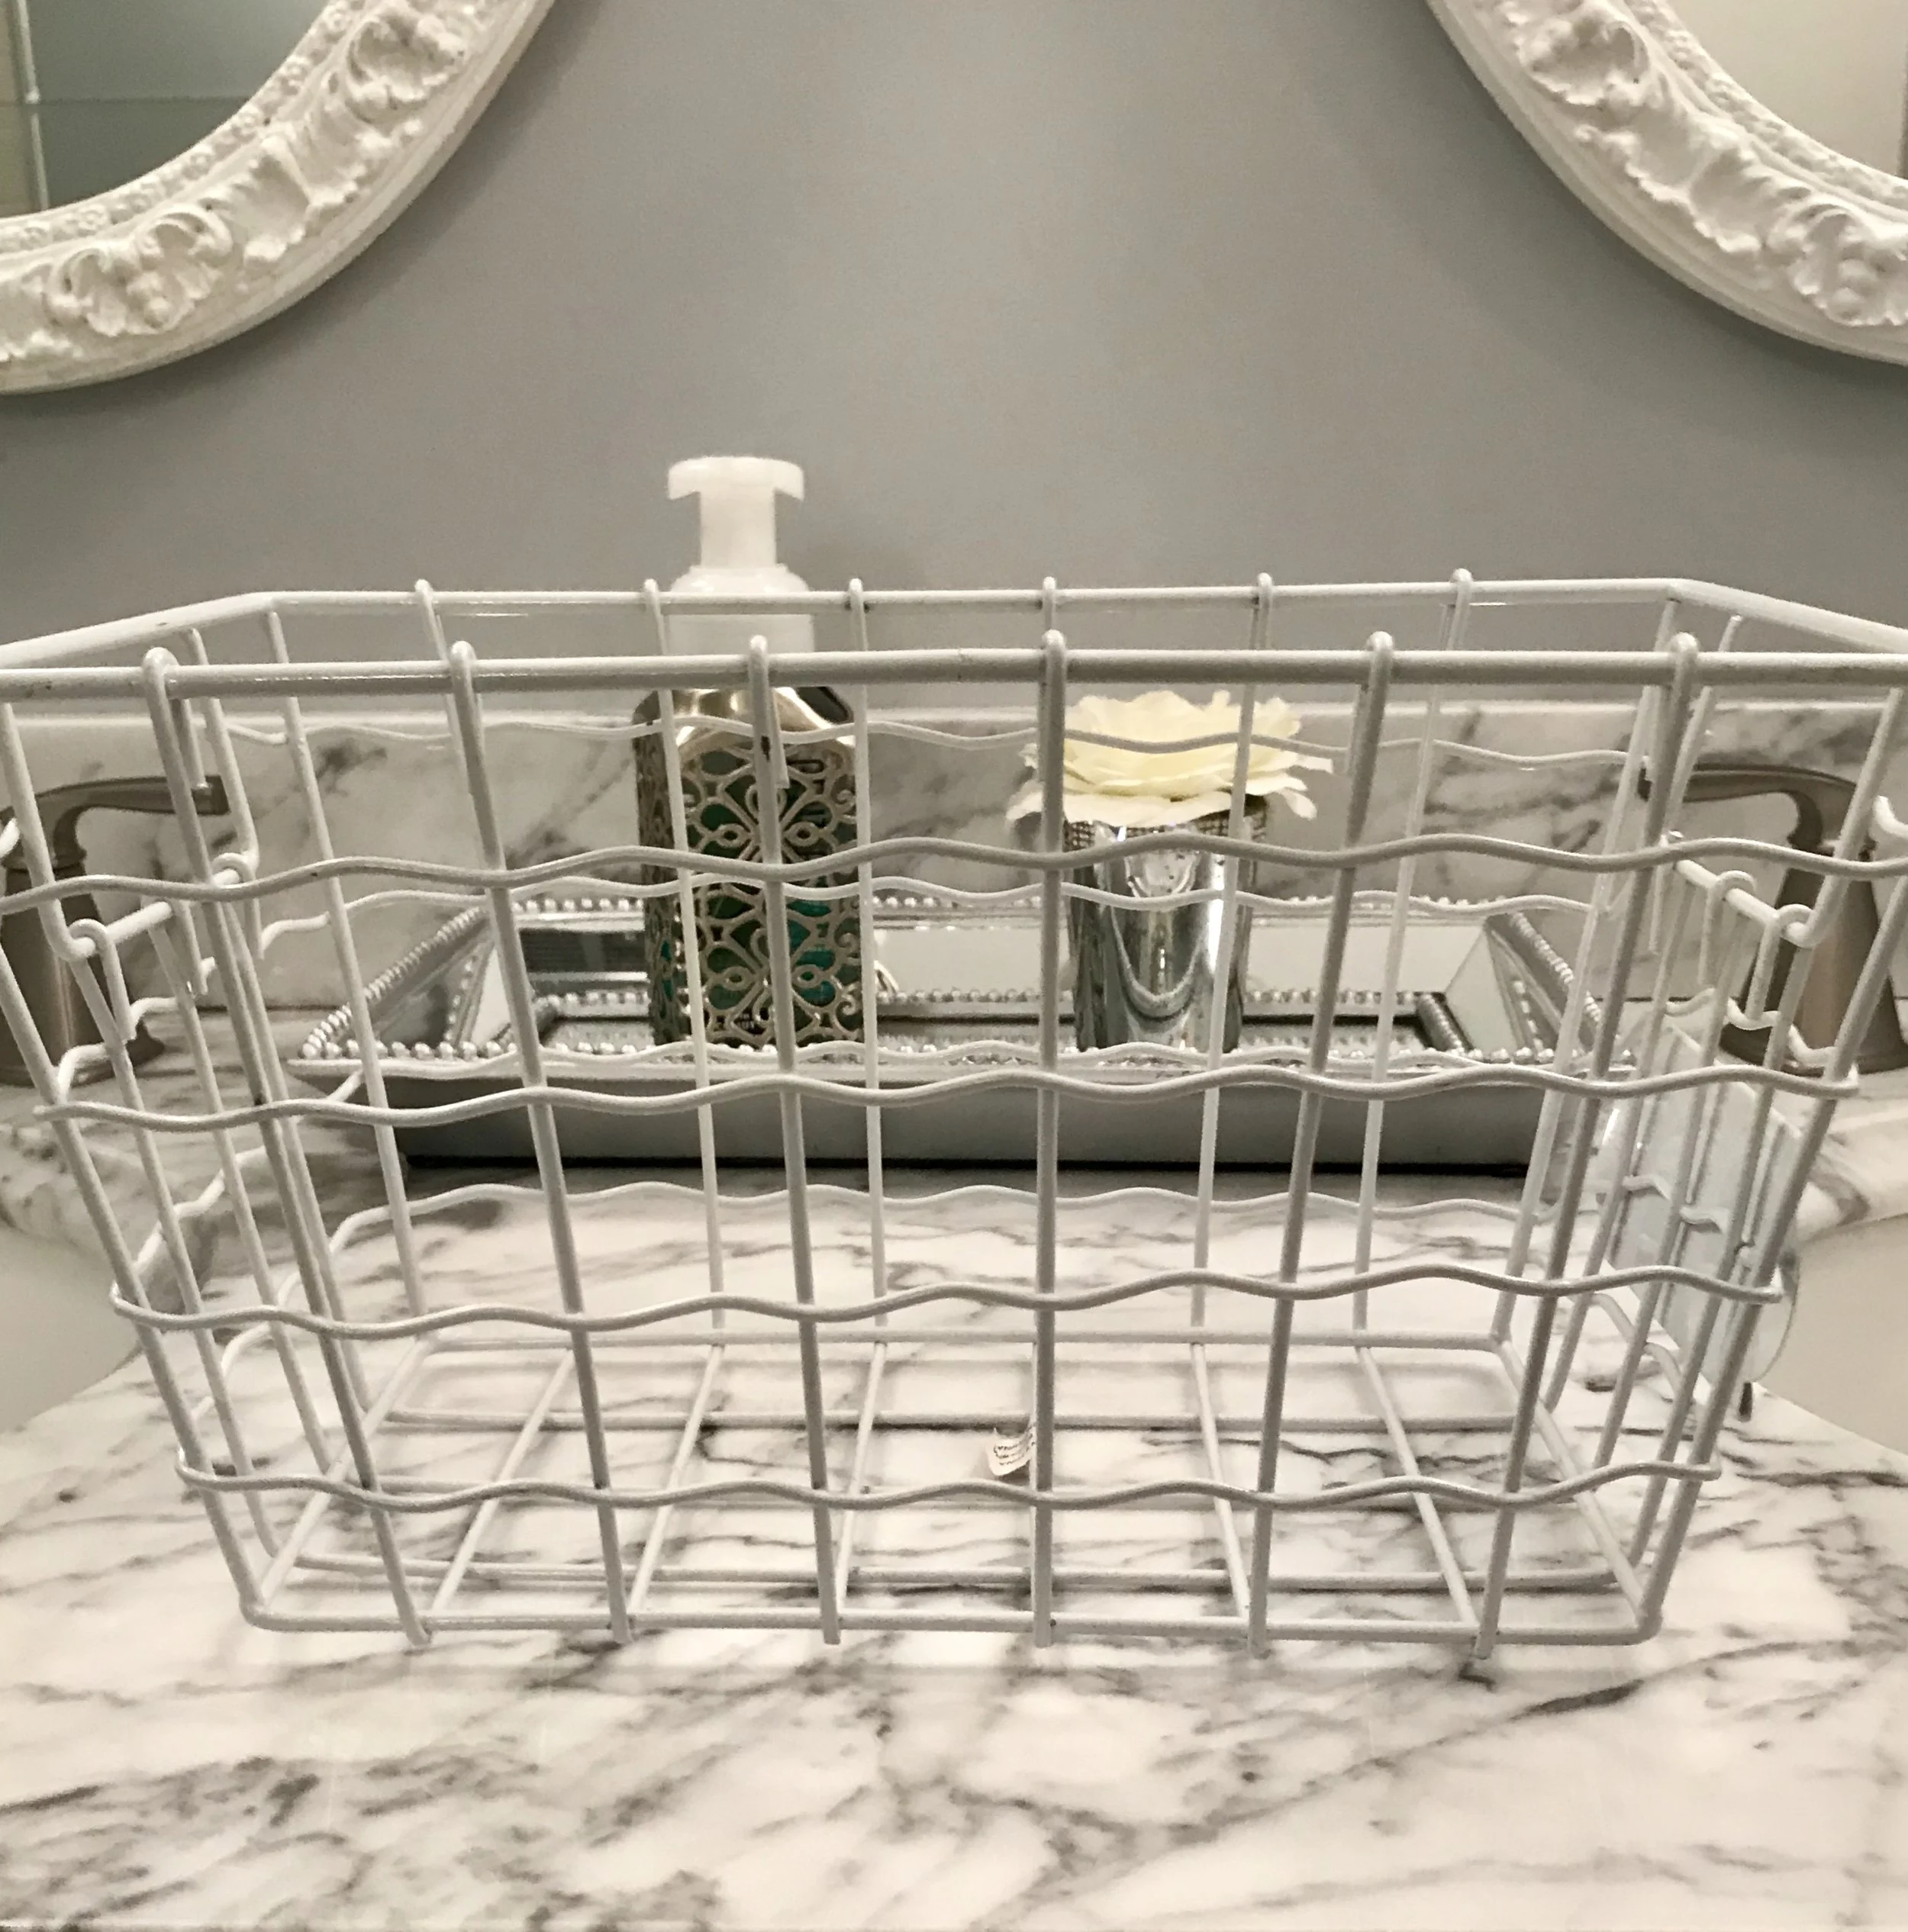
This is a basic wire storage basket that I was planning on using for more palettes. You can never go wrong with basic white!
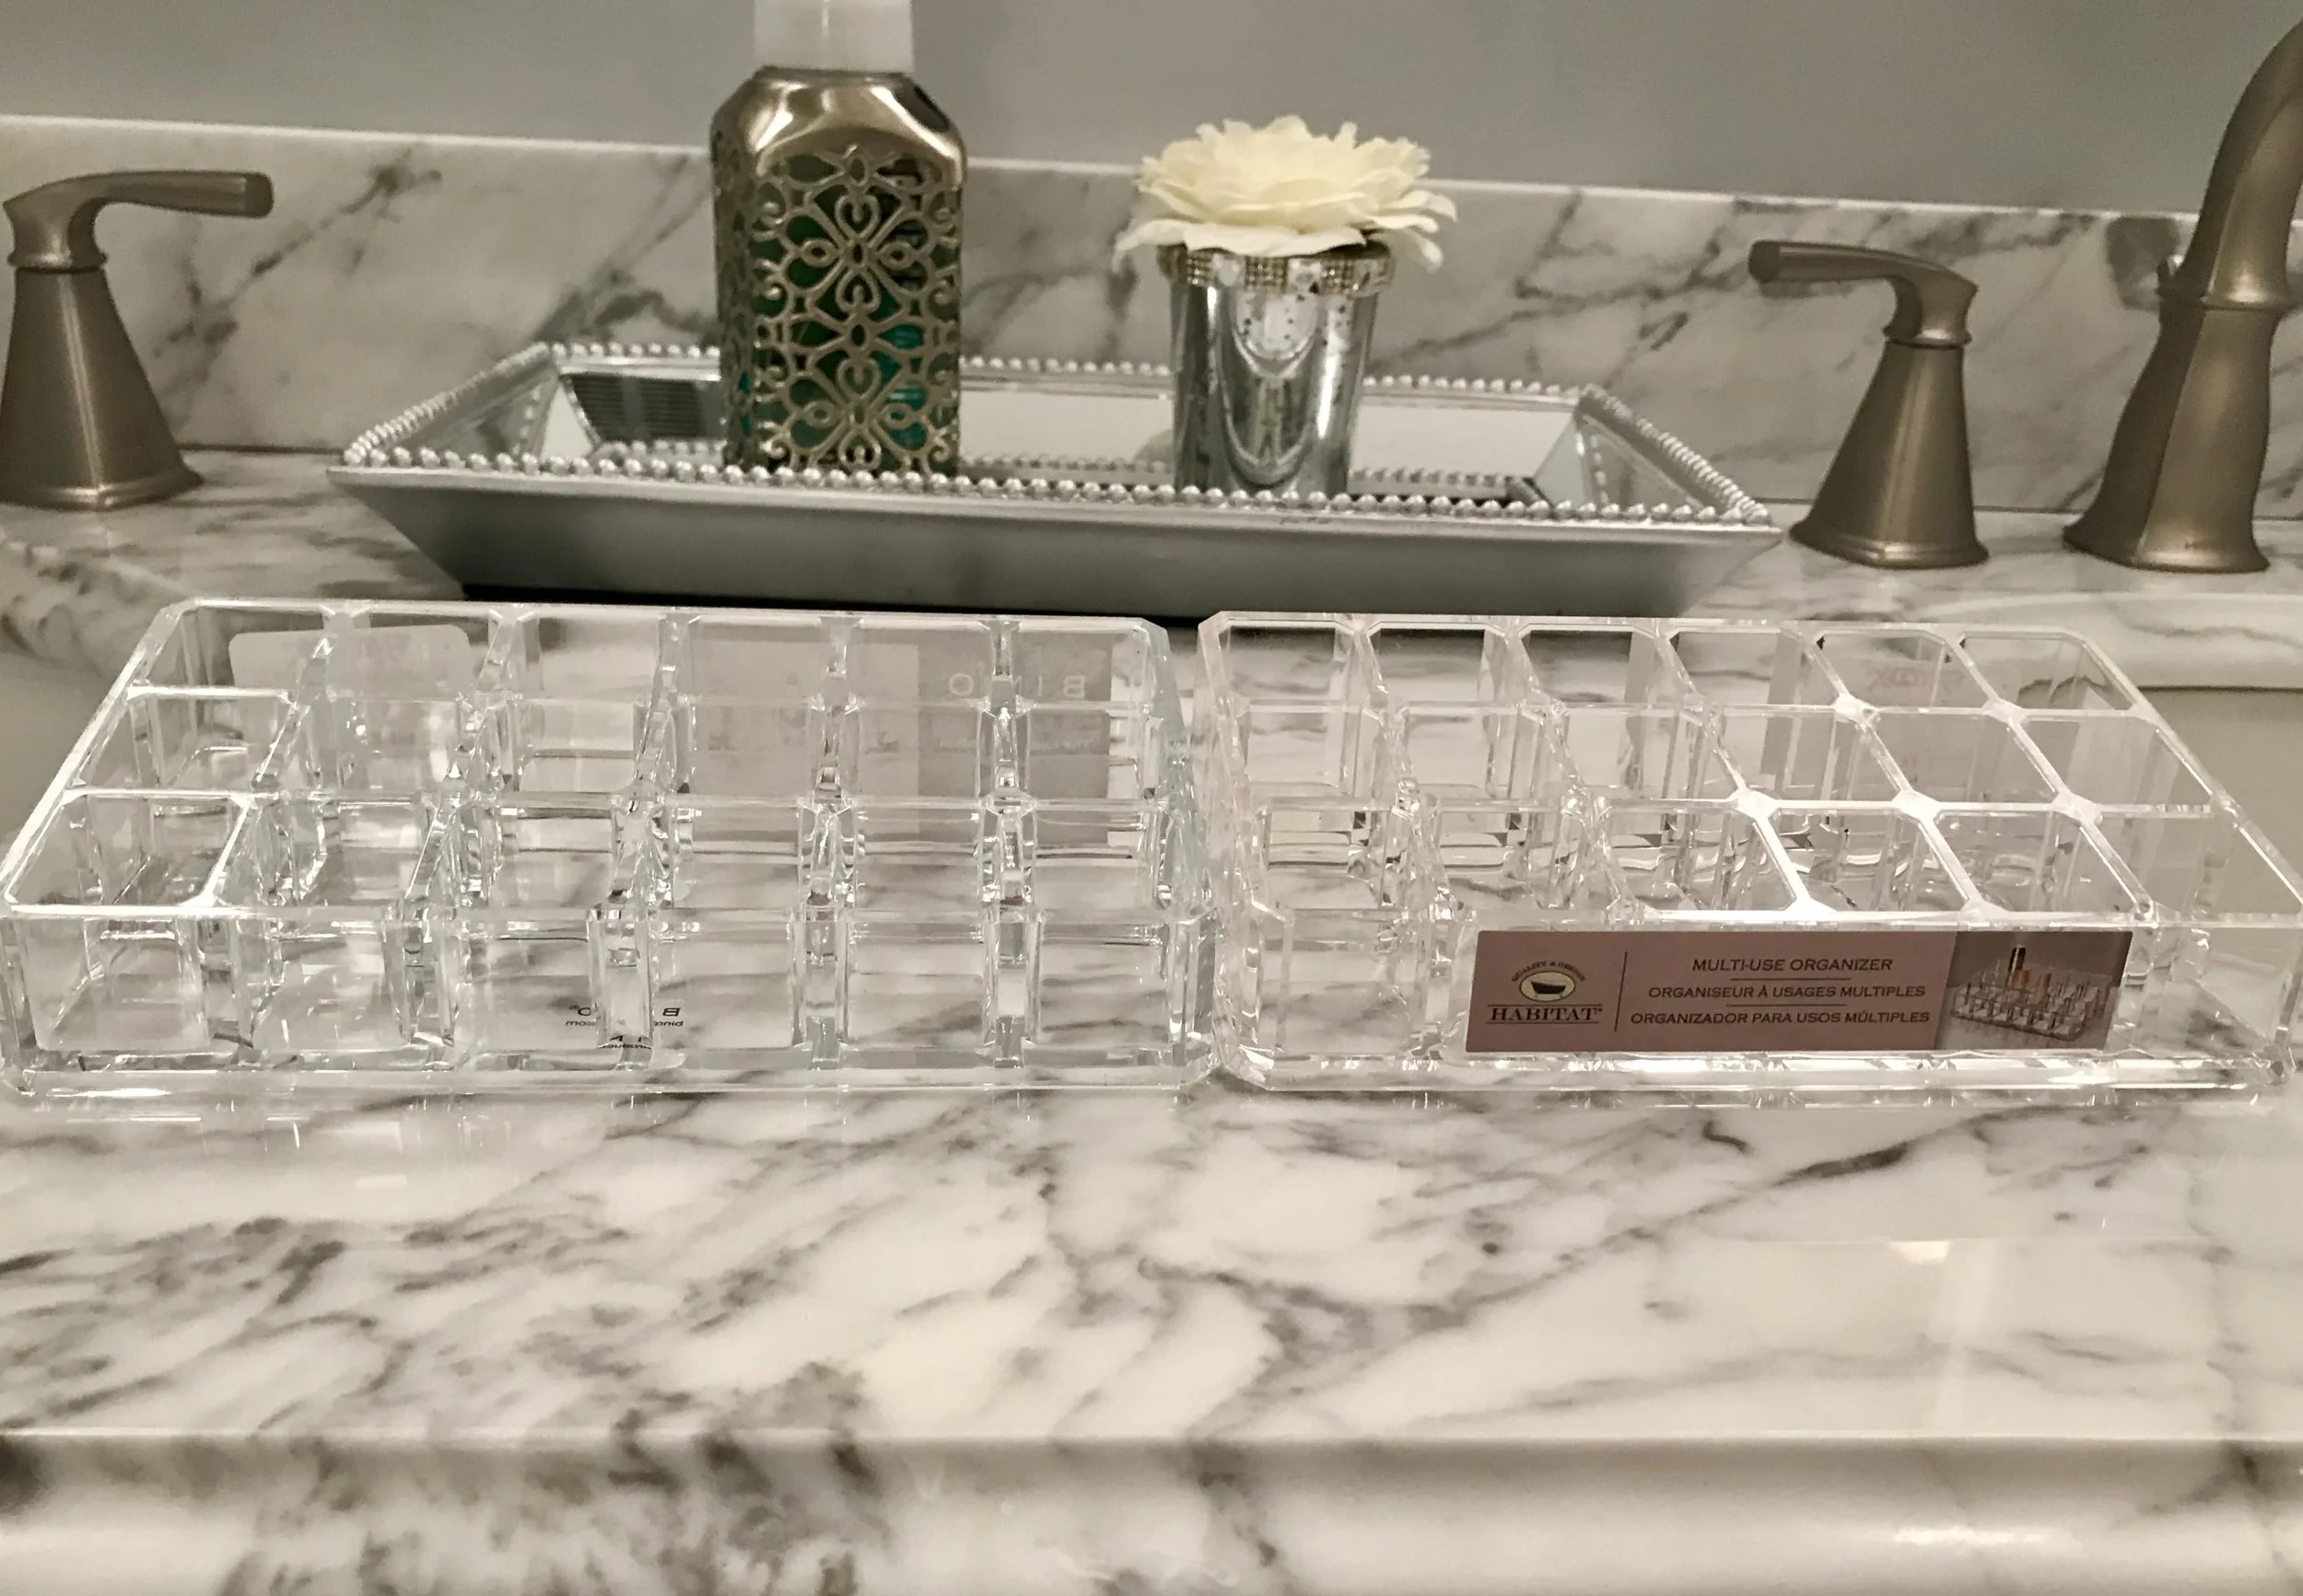
I love the look of clear acrylic storage, especially for make-up storage. I went to TJ Maxx with the expectation of buying some of these storage items, and I love that there were some available for lipsticks and lip glosses!
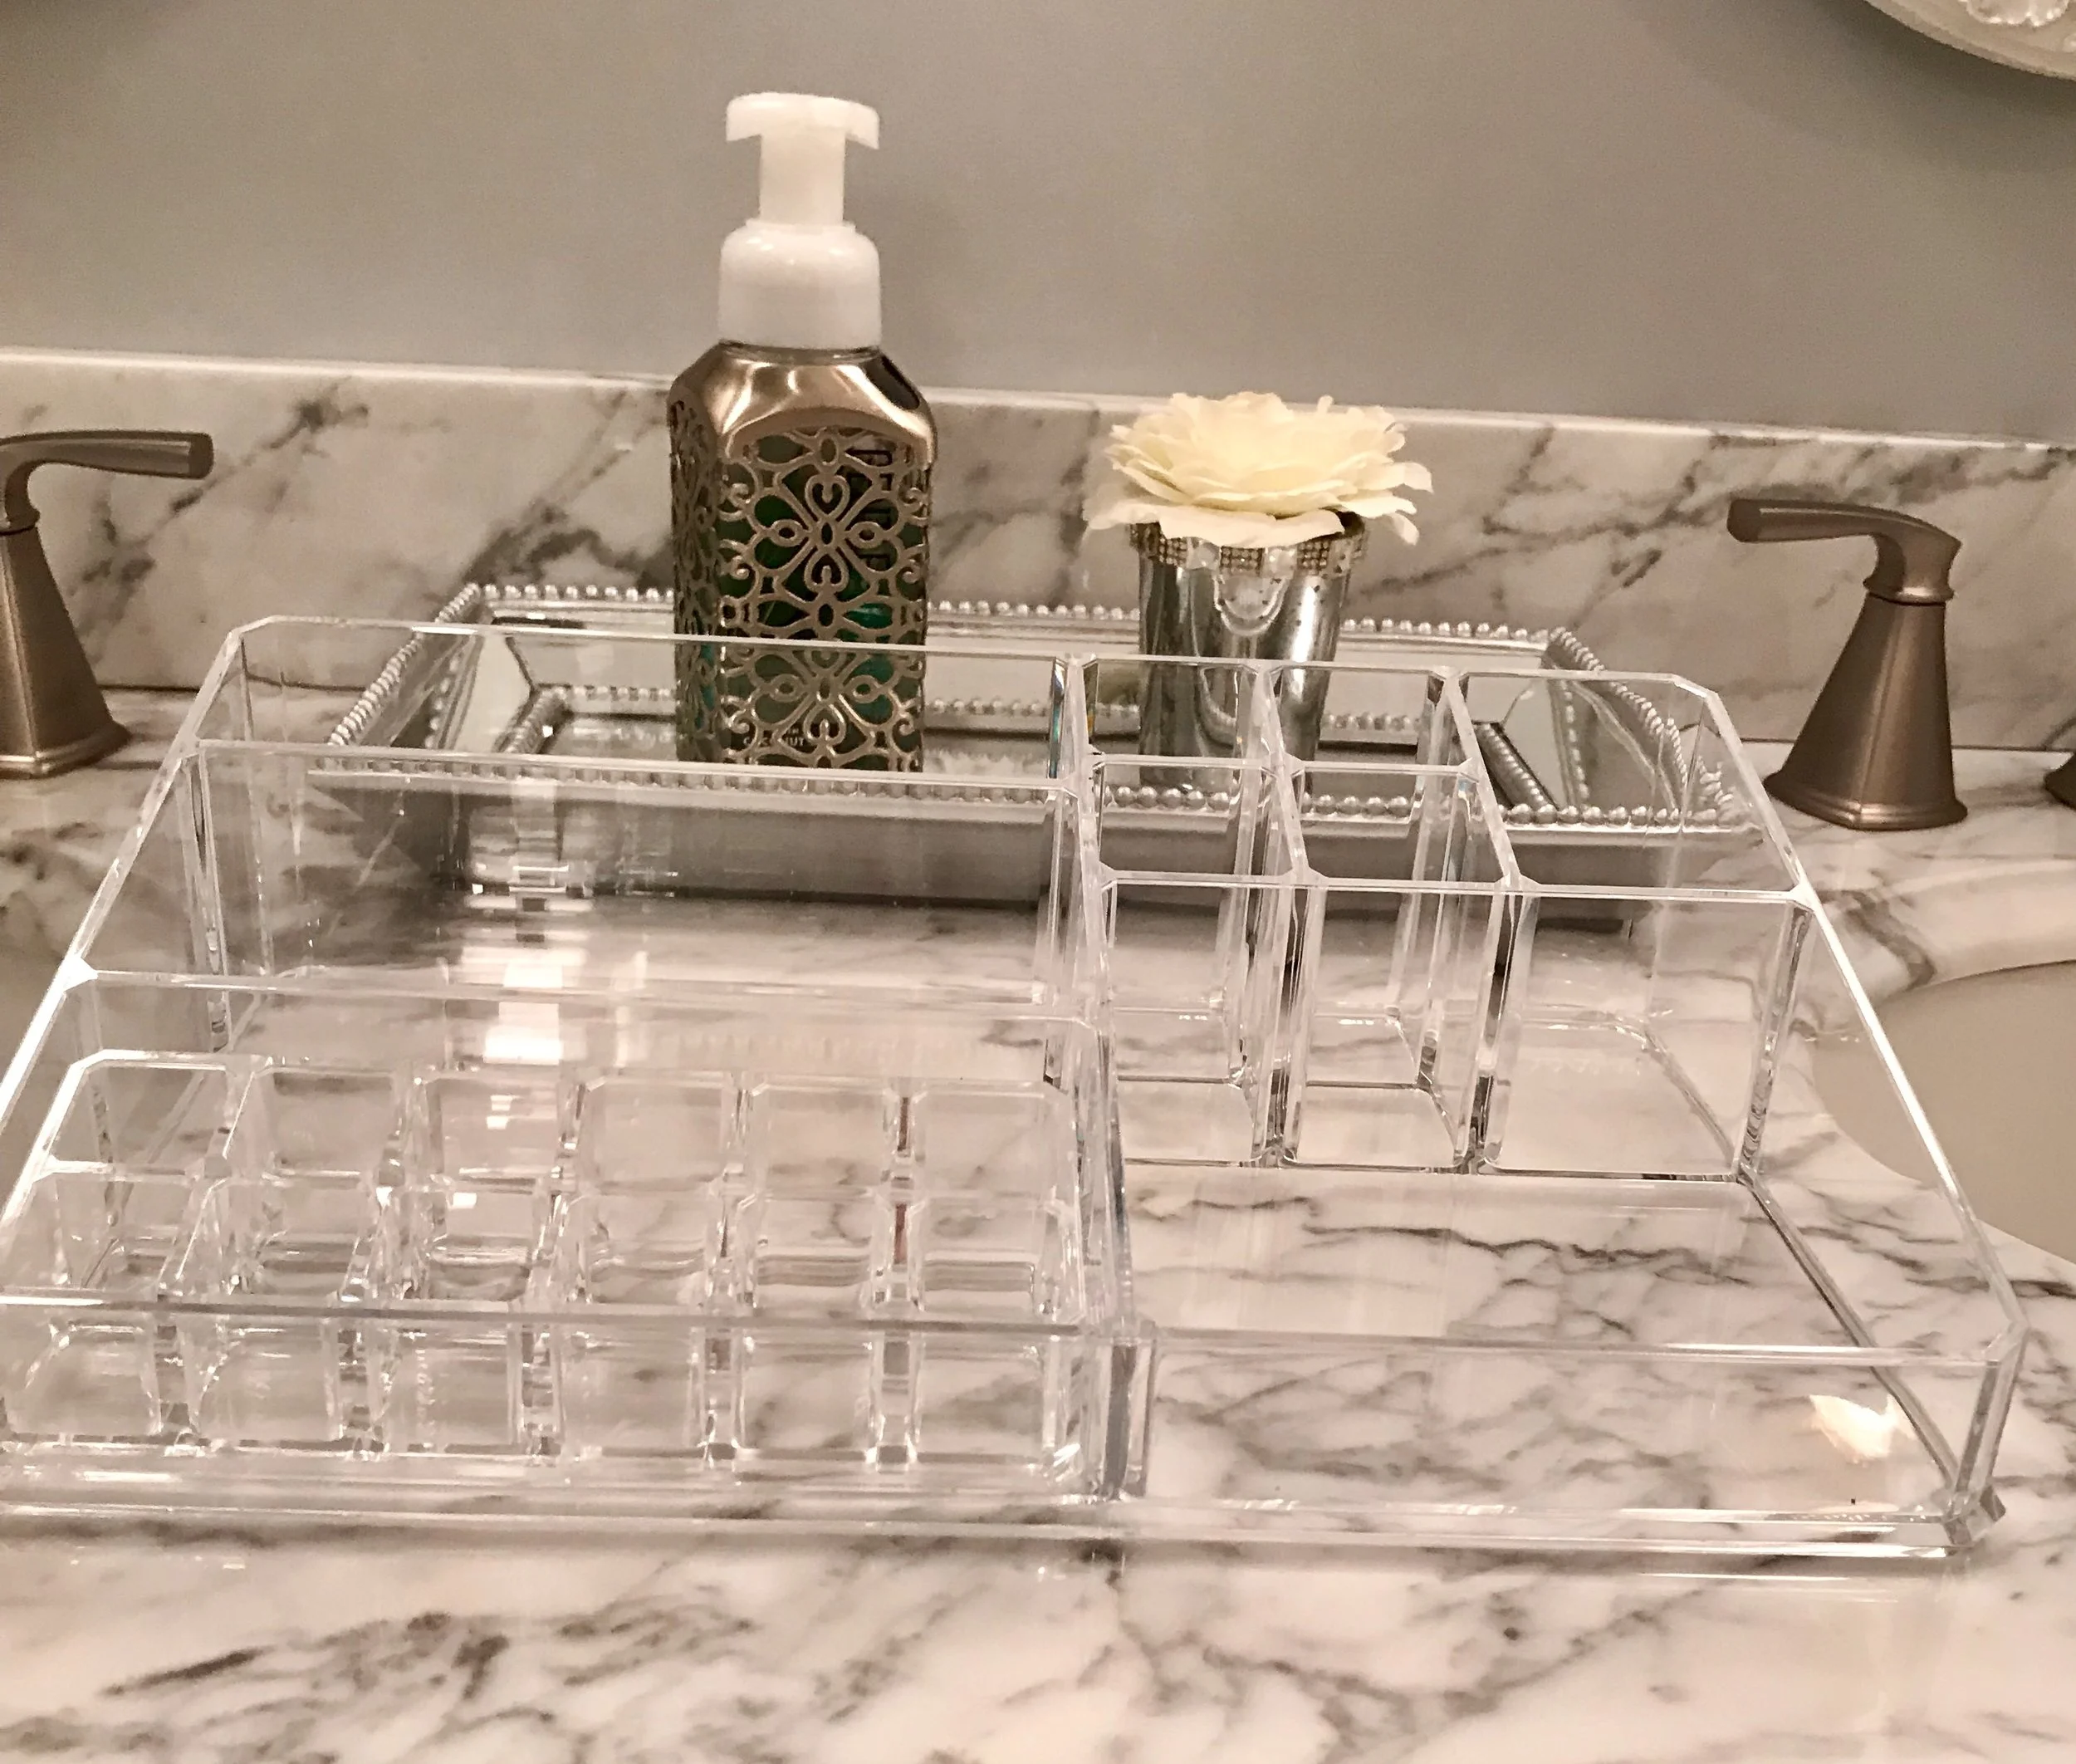
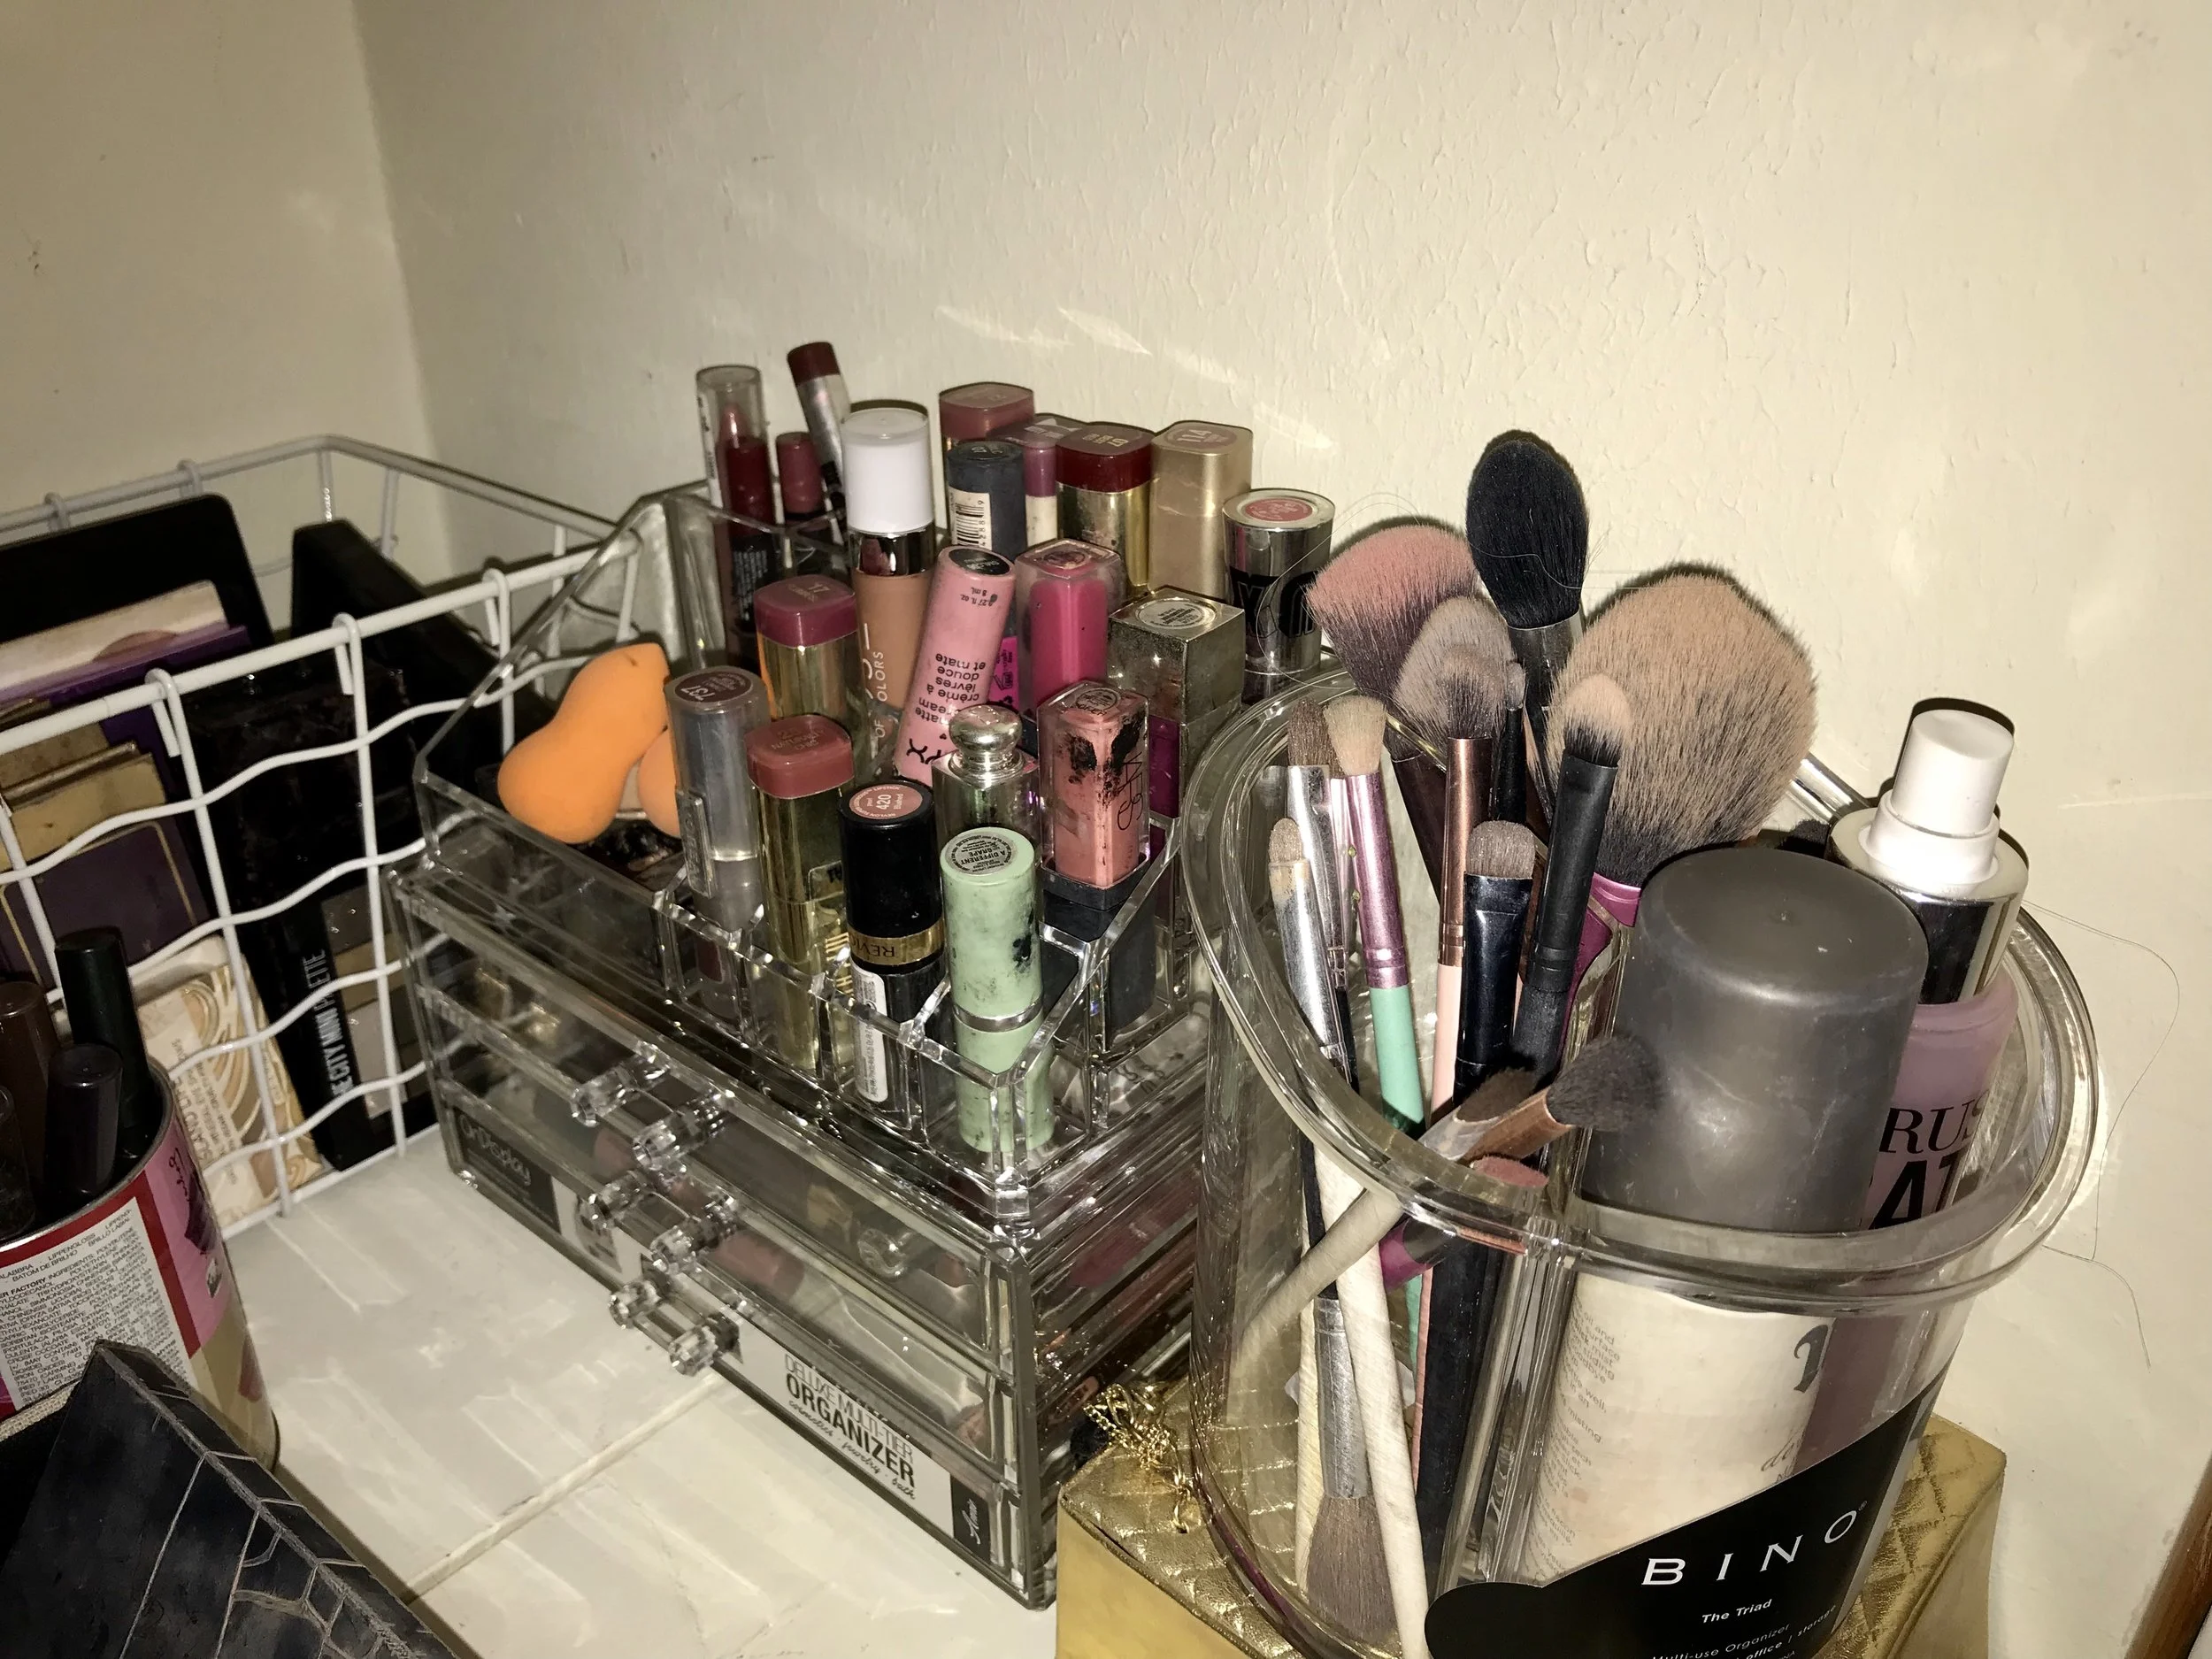
Another acrylic storage with more lipstick slots, drawers, and spaces for storage.
More acrylic storage with more lipstick slots (I have a ton of lipstick, and I love this idea!)
Acrylic storage with different compartments for brushes
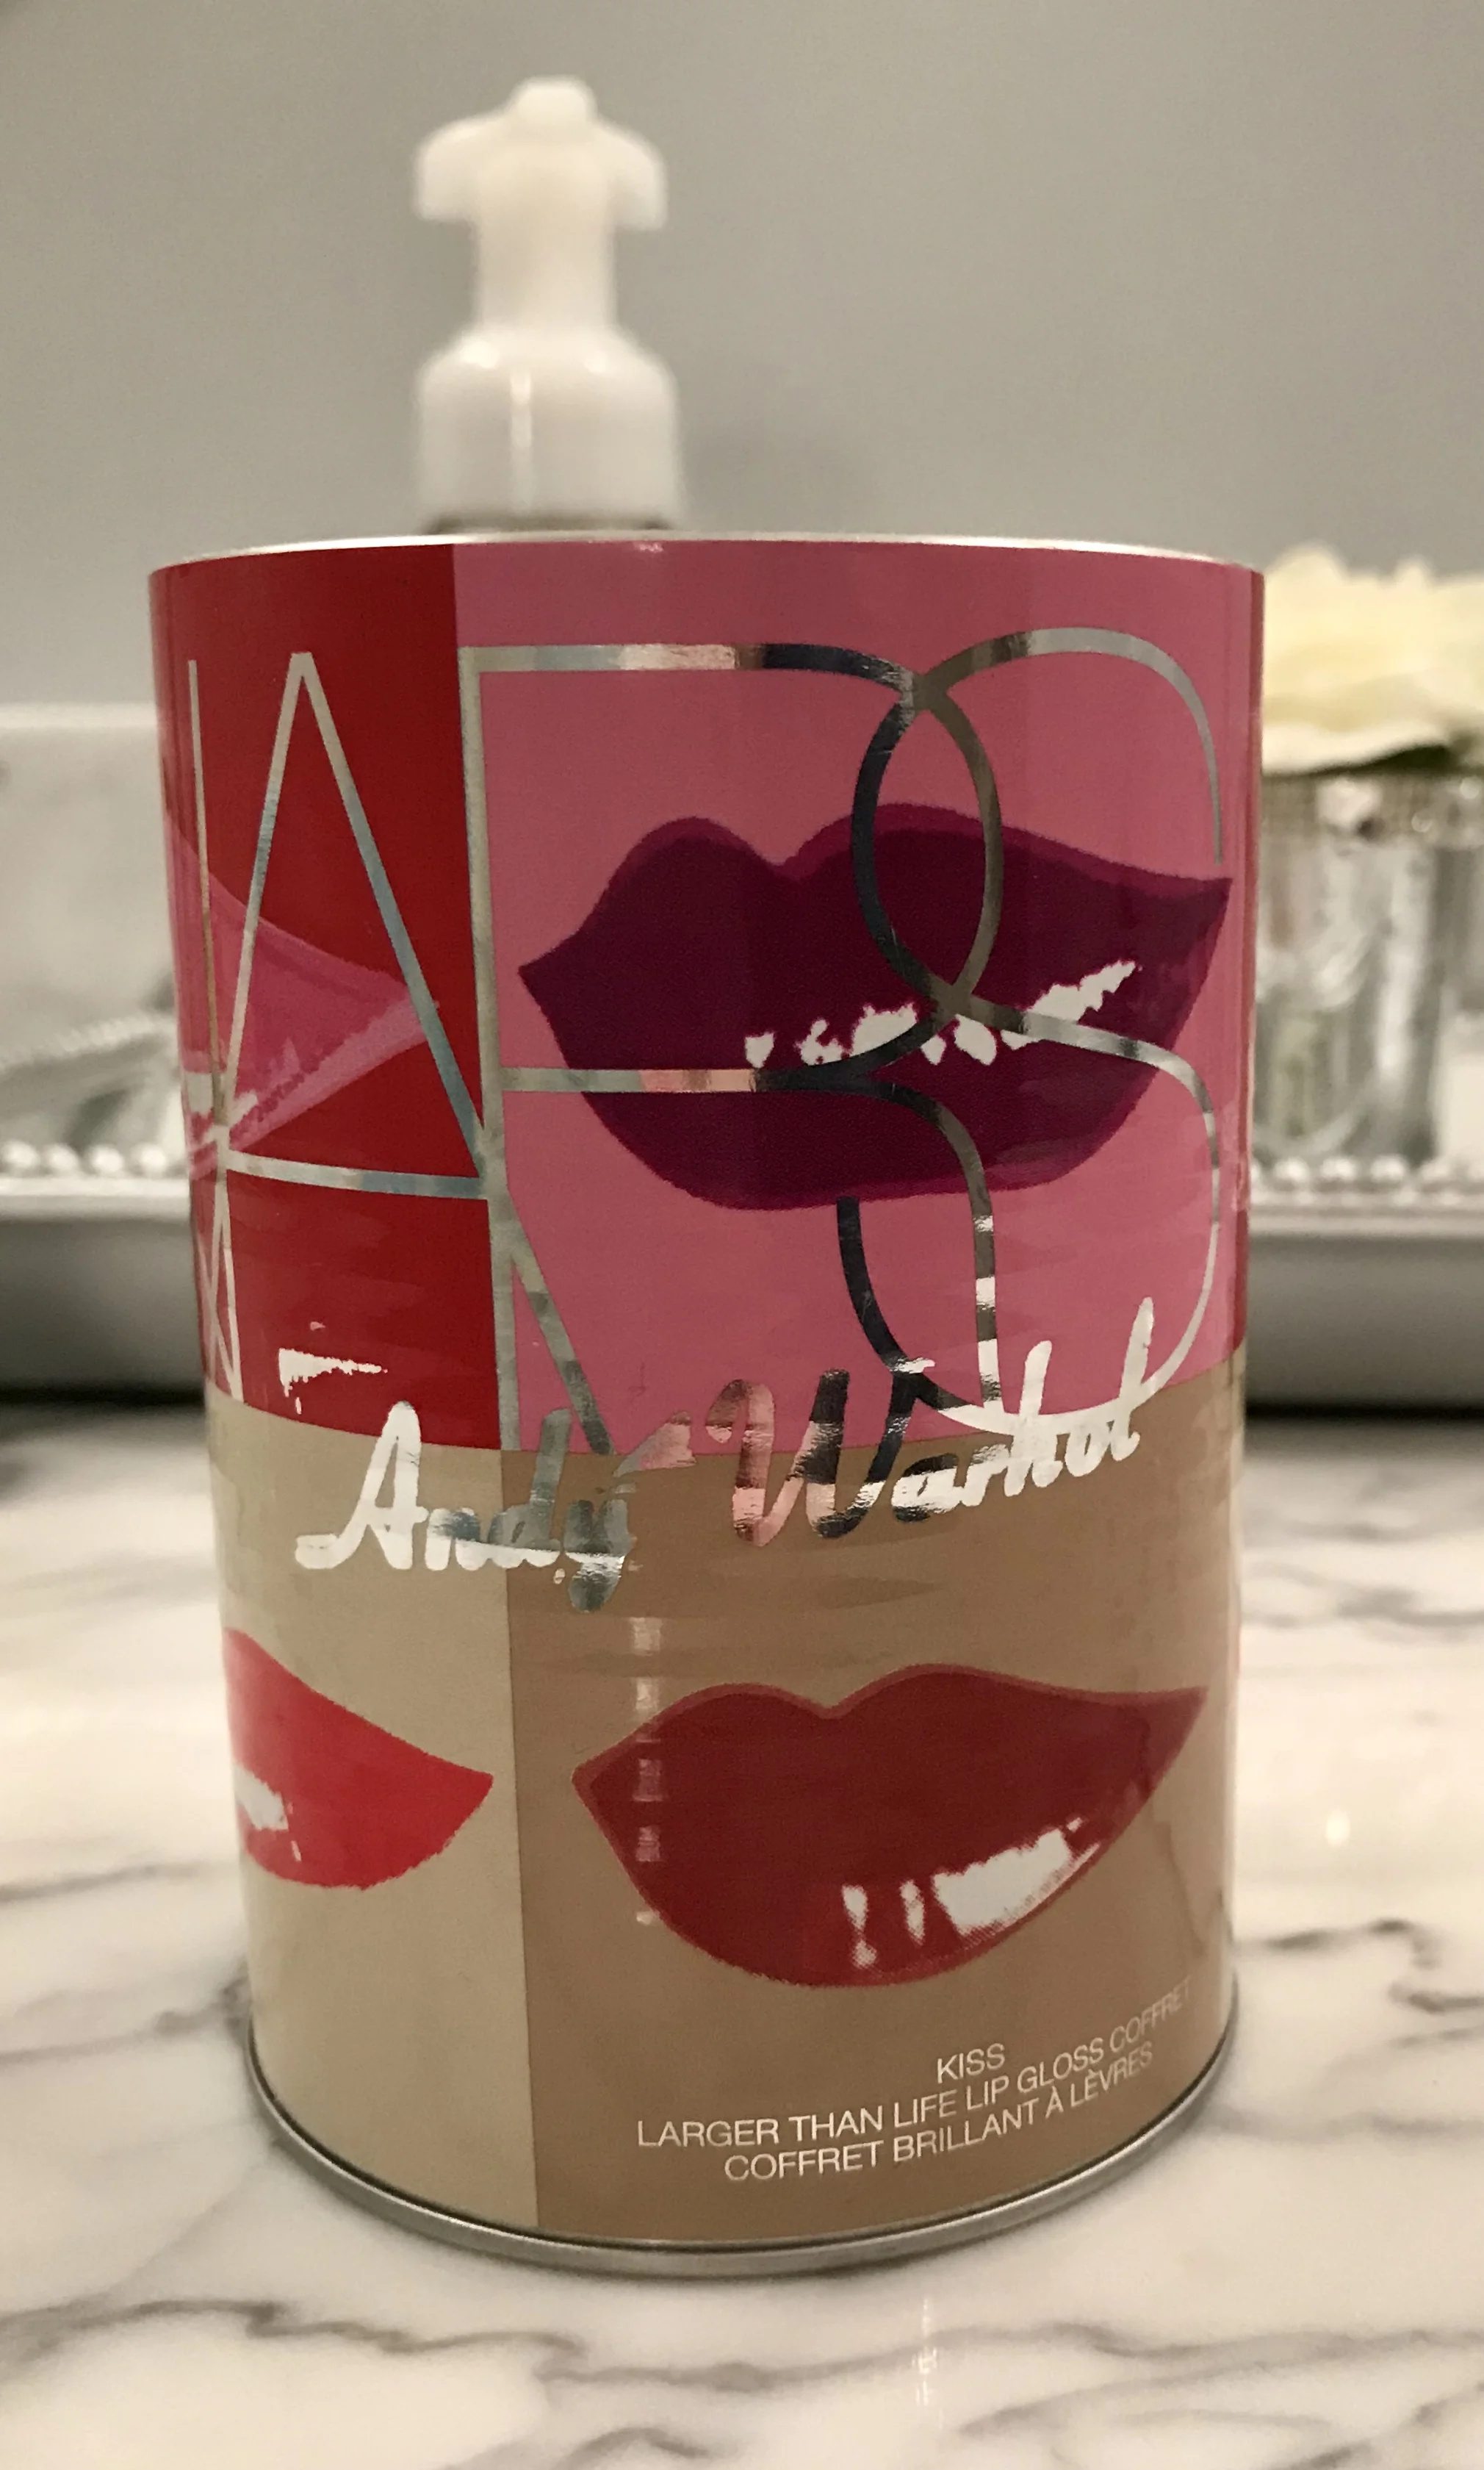
I kept this fun Andy Warhol inspired NARS can from a lipgloss set several years back. I still love it and never used it. I decided to use this for my eyeliners and lipliners.
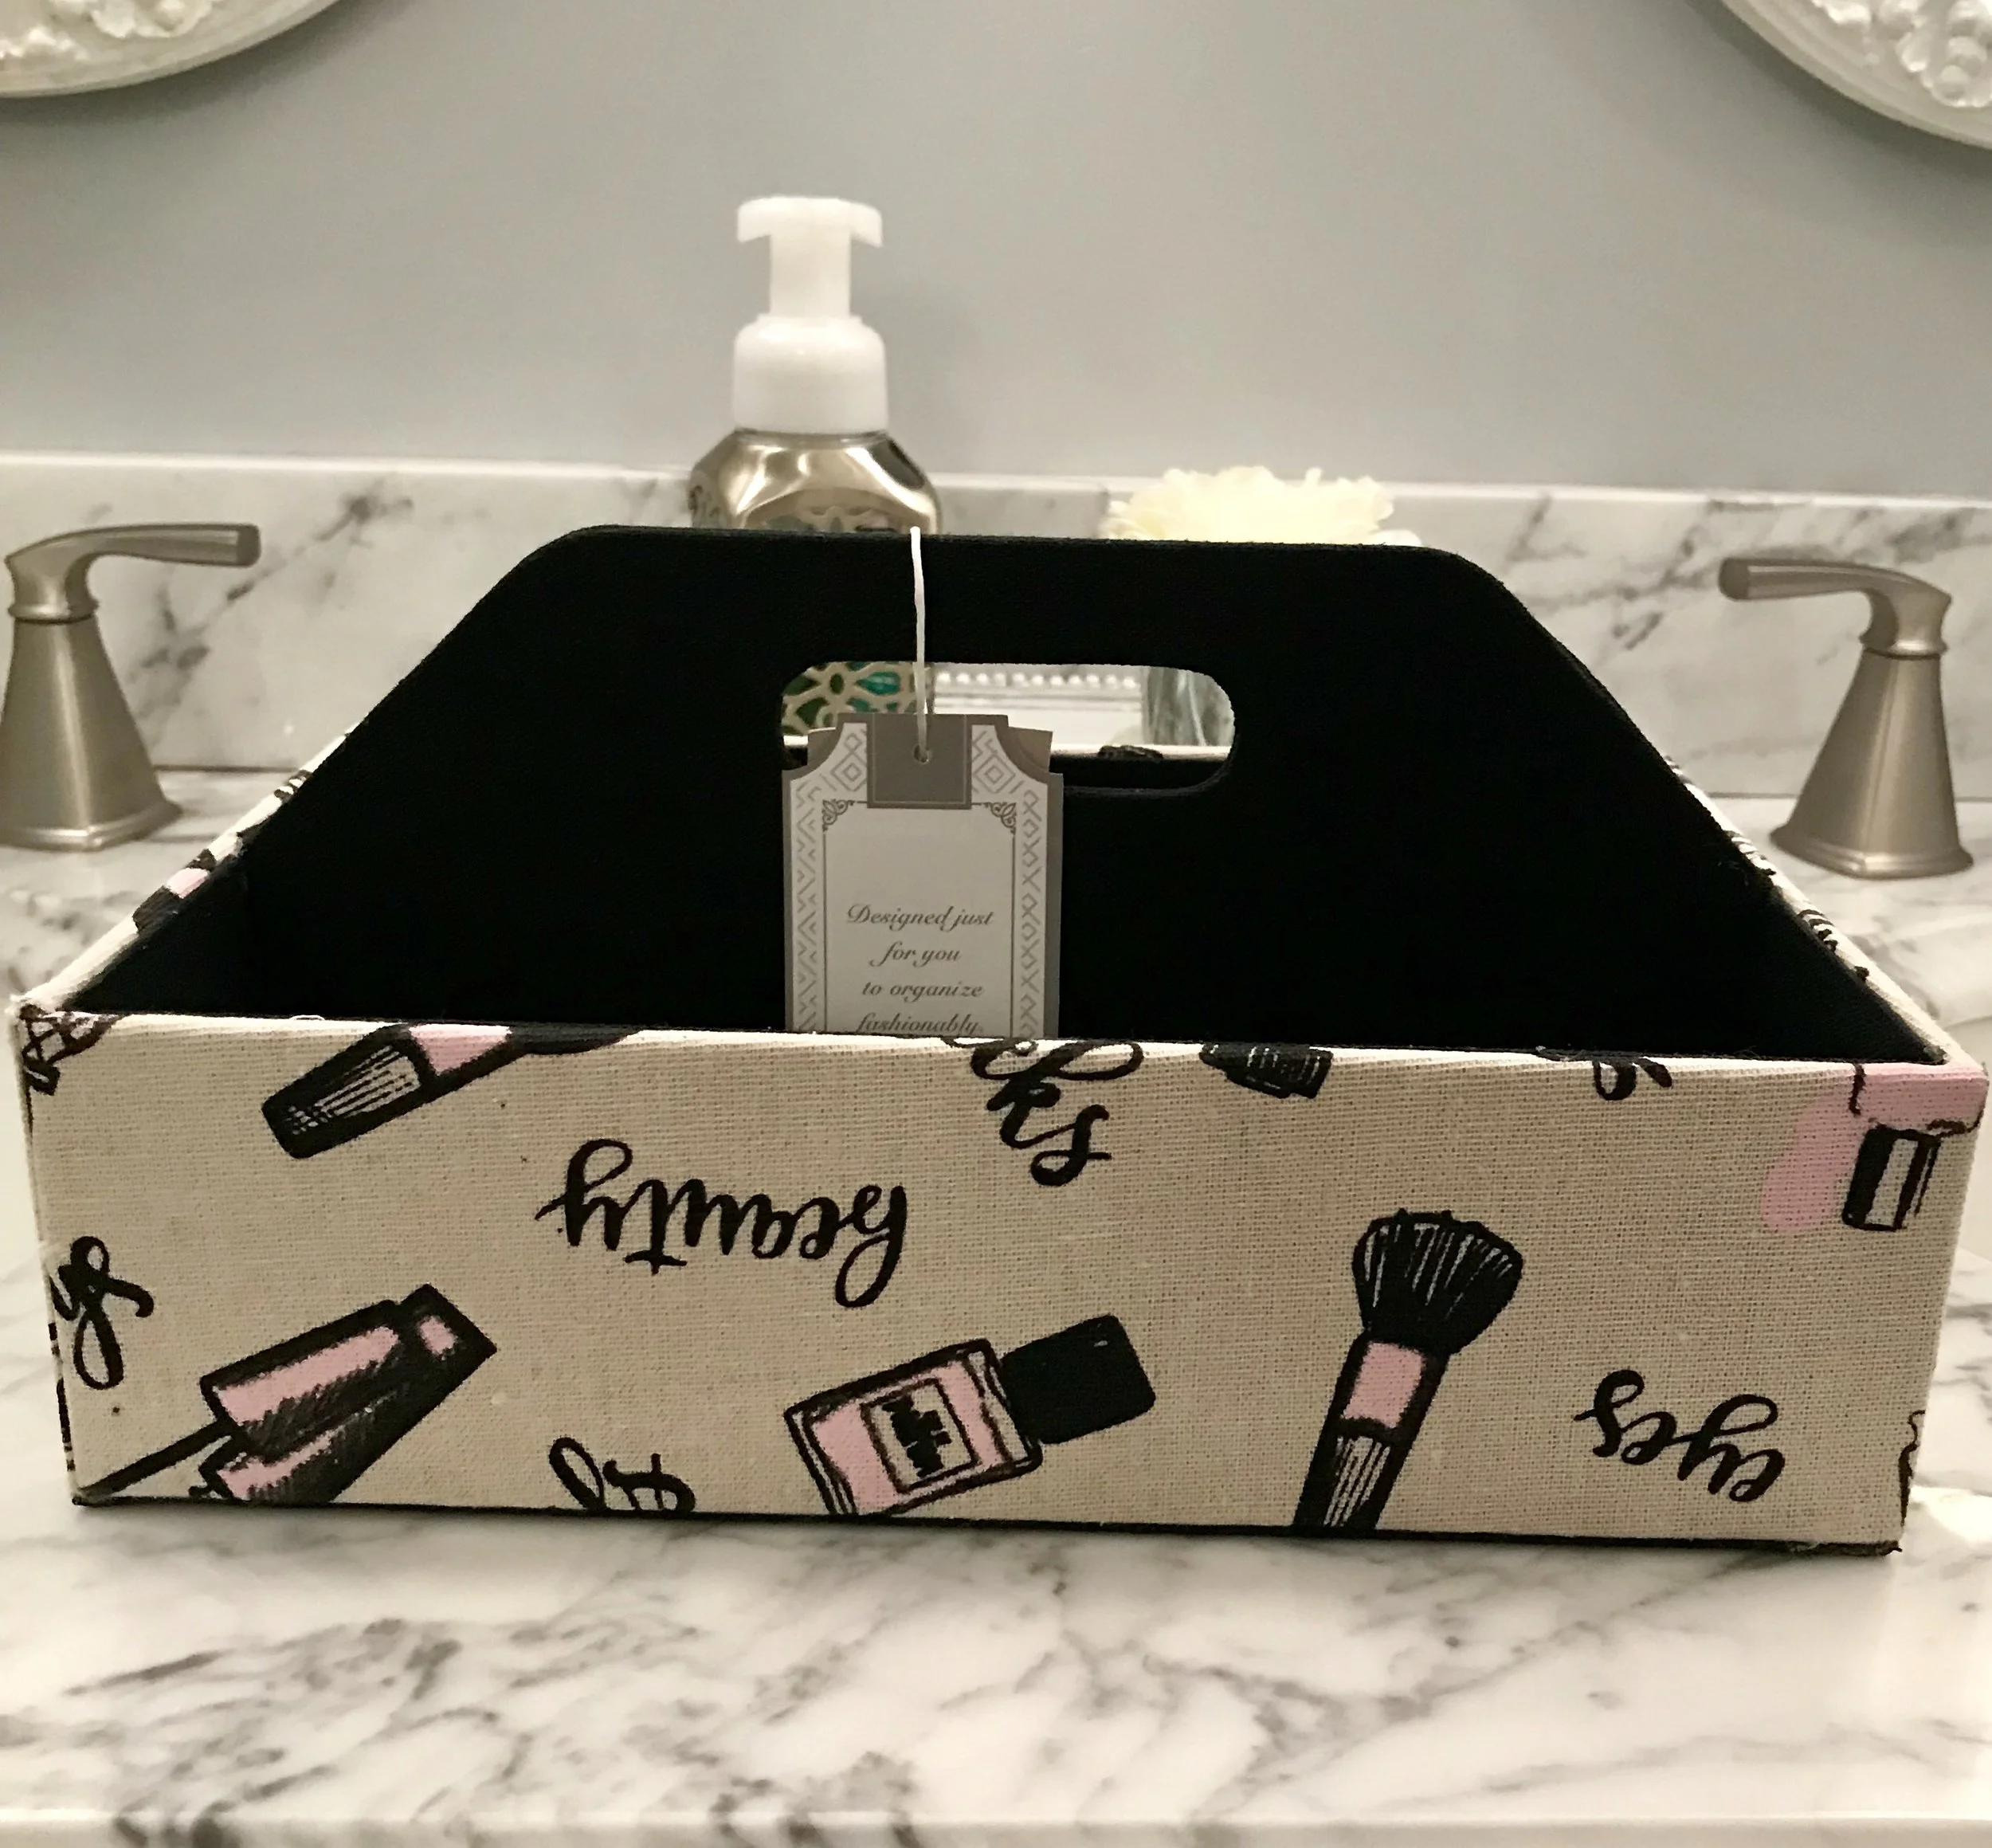
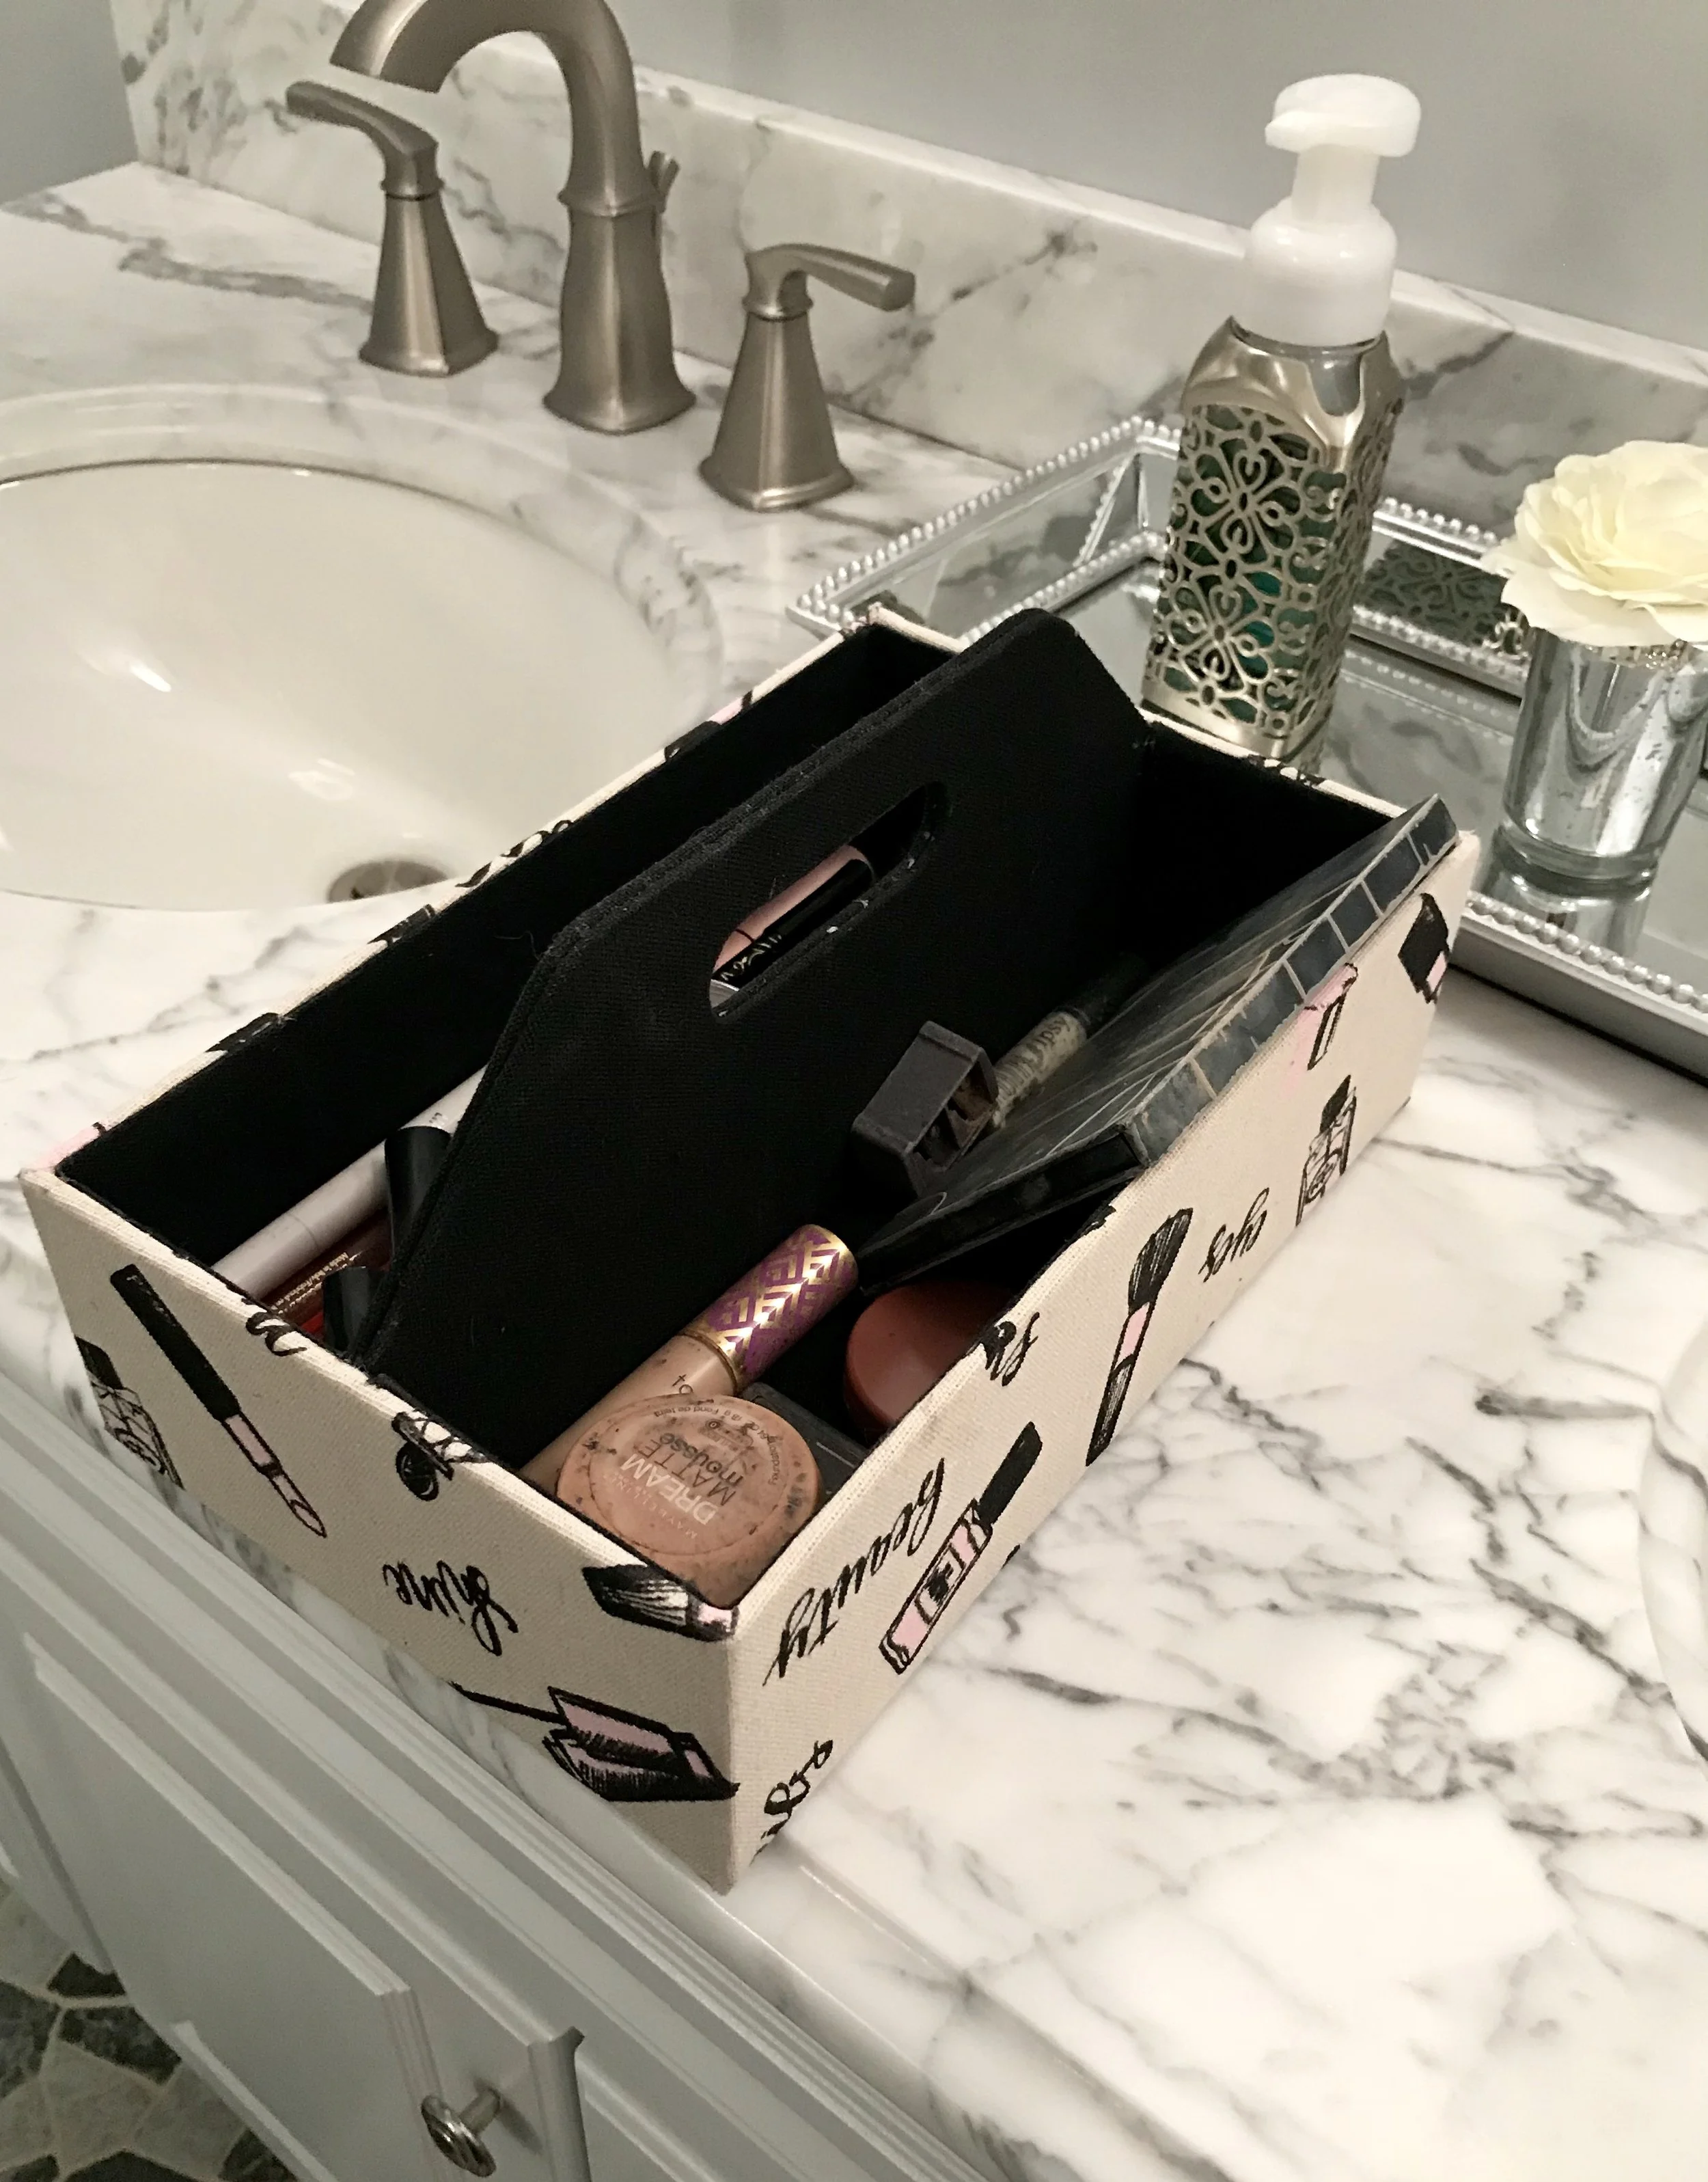
For the make-up I always use daily and don't tote around with me in my make-up bag (I .e., foundation, blush, concealer, contour, liquid liner, setting powder, and commonly used lipsticks), I thought this was a great storage solution. I can set it in the closet and bring this out to use daily and easily put back.
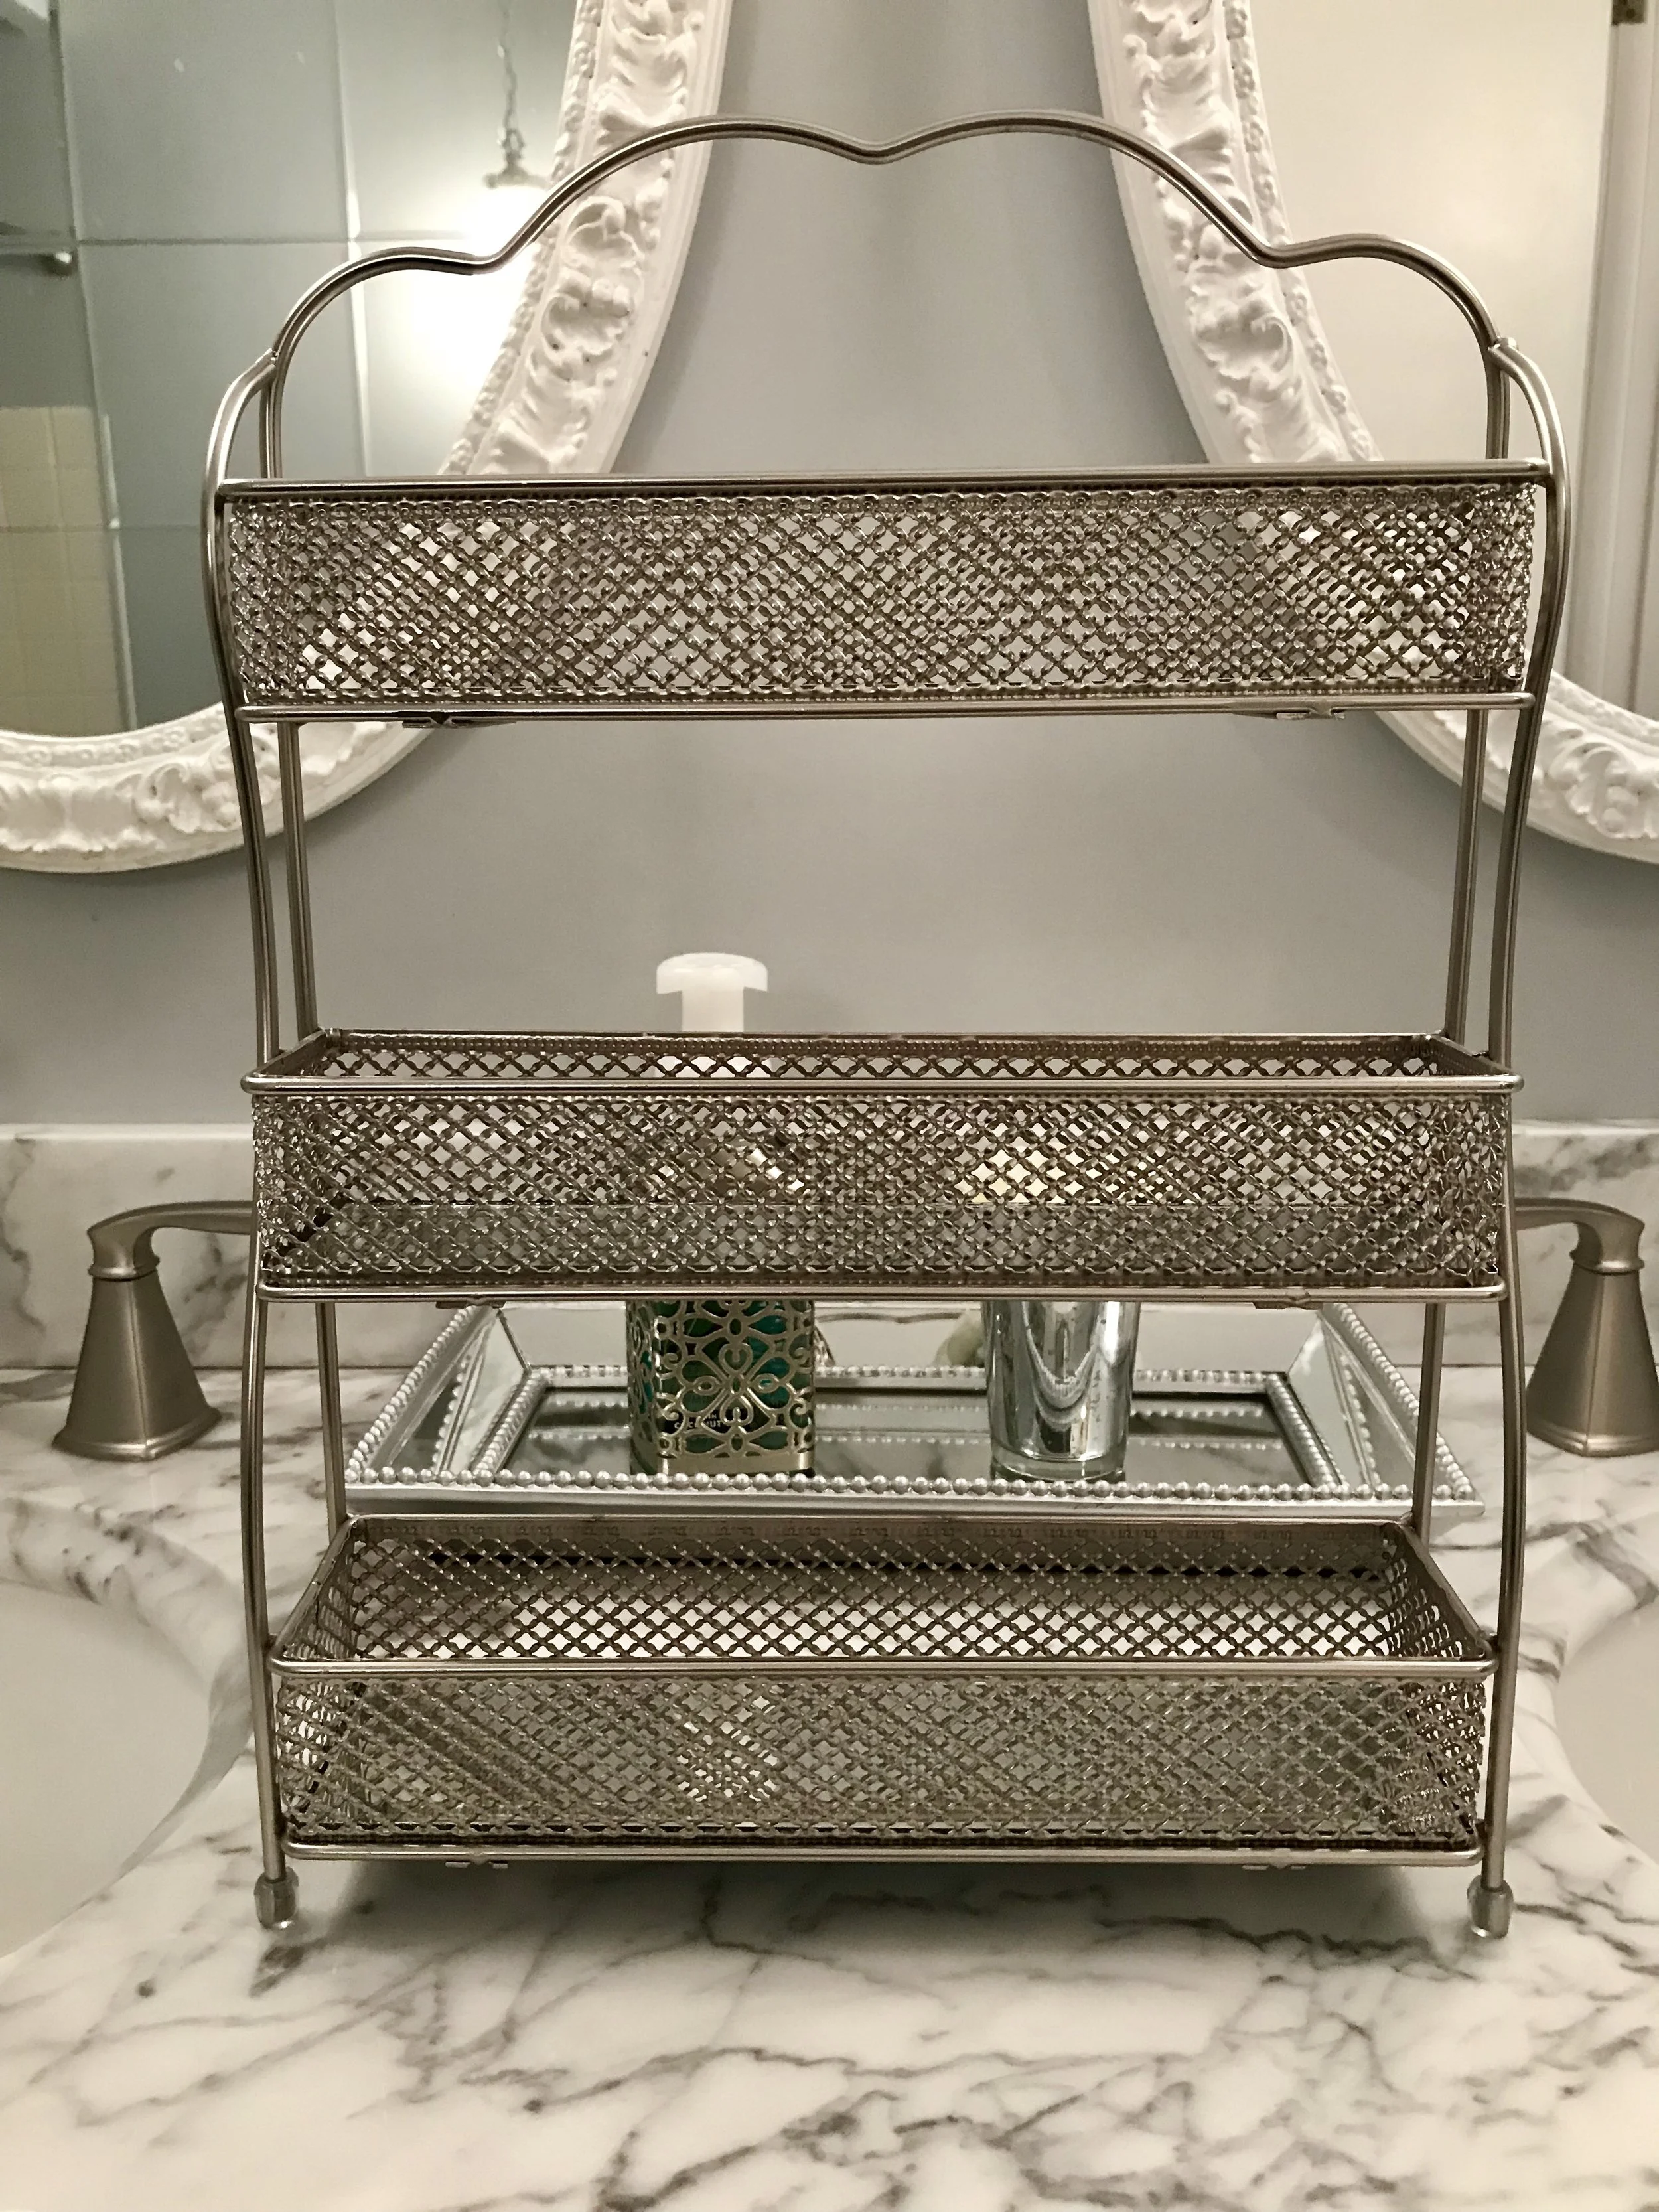
This is a nail polish organizer. If you have a lot of nail polish, I think it's great for that! I actually purchased this with the thought of using it to put lipsticks and lip glosses in. I ended up not needing to use it, so I returned it, but I think it's still a great idea to use!
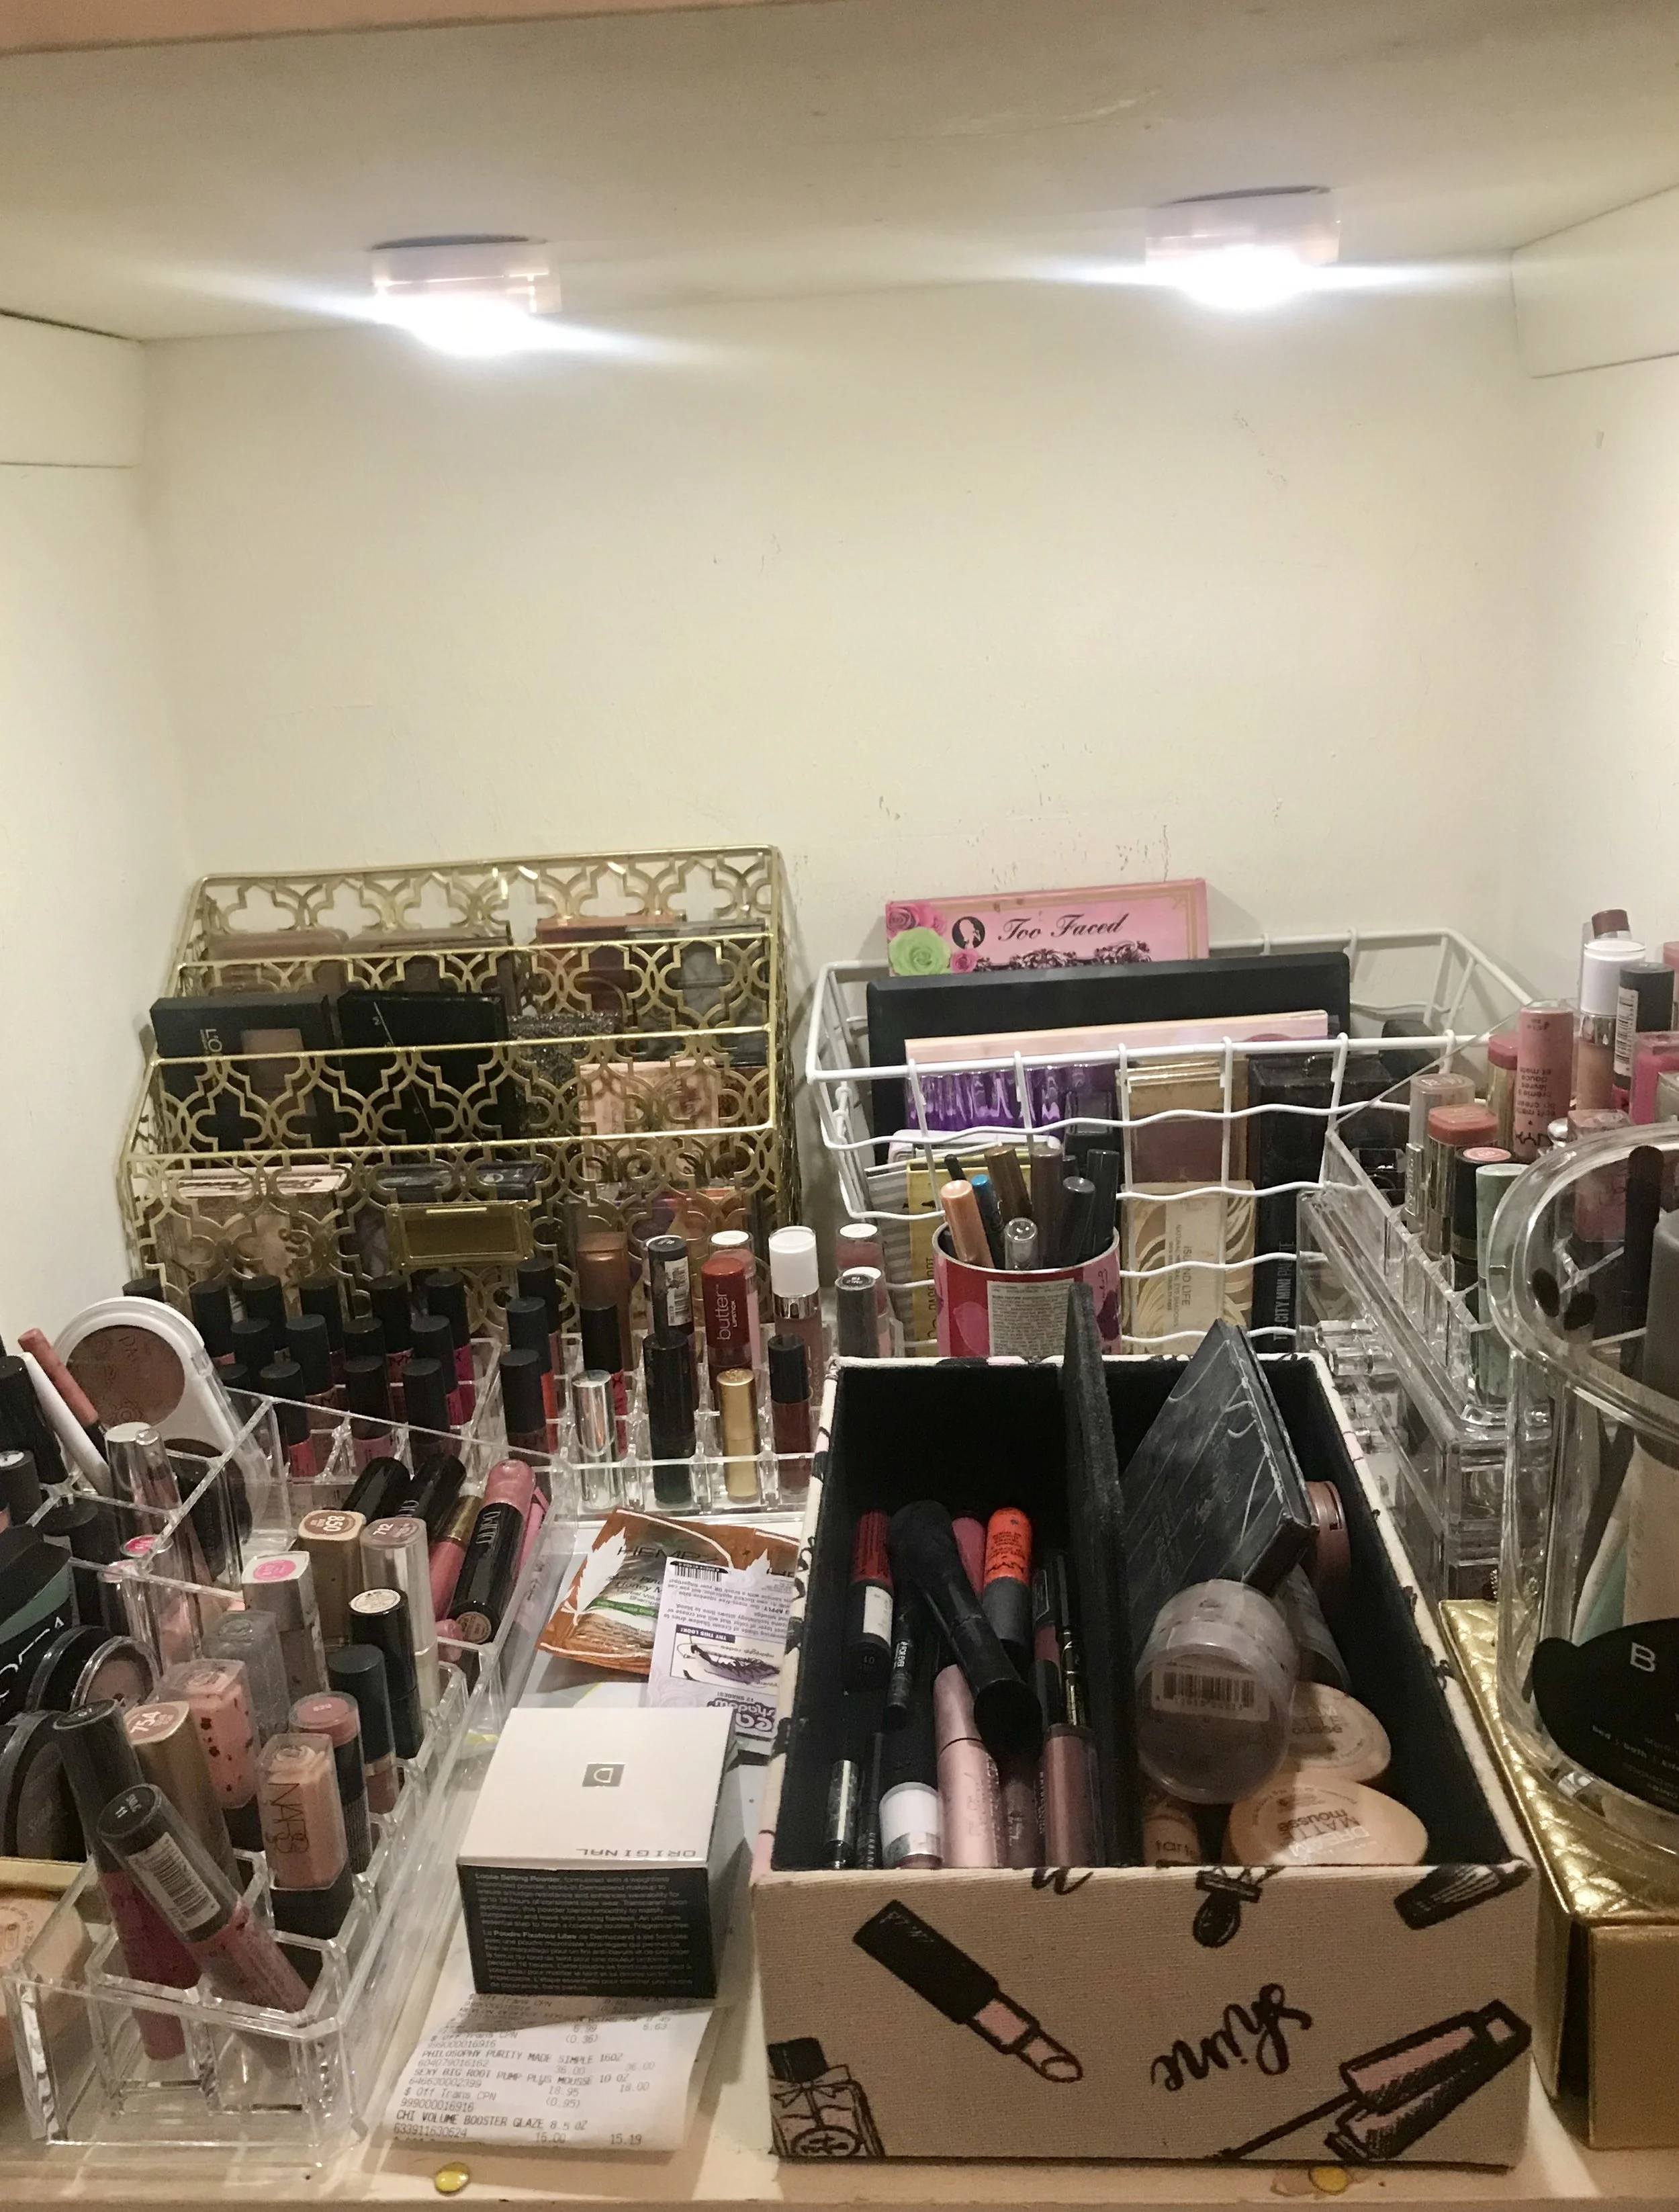
After cleaning out my make-up (throwing away old and making a pile to giveaway unused), I started to organize my make-up, so the shelf and storage looked like this:
Shelf with organized make-up
Eyeshadow palette organization
Lipstick and Lip Color Storage with Can of Eyeshadows and eyeliners
More eyeshadow storage
How I use this carrier to bring out my make-up to use everyday
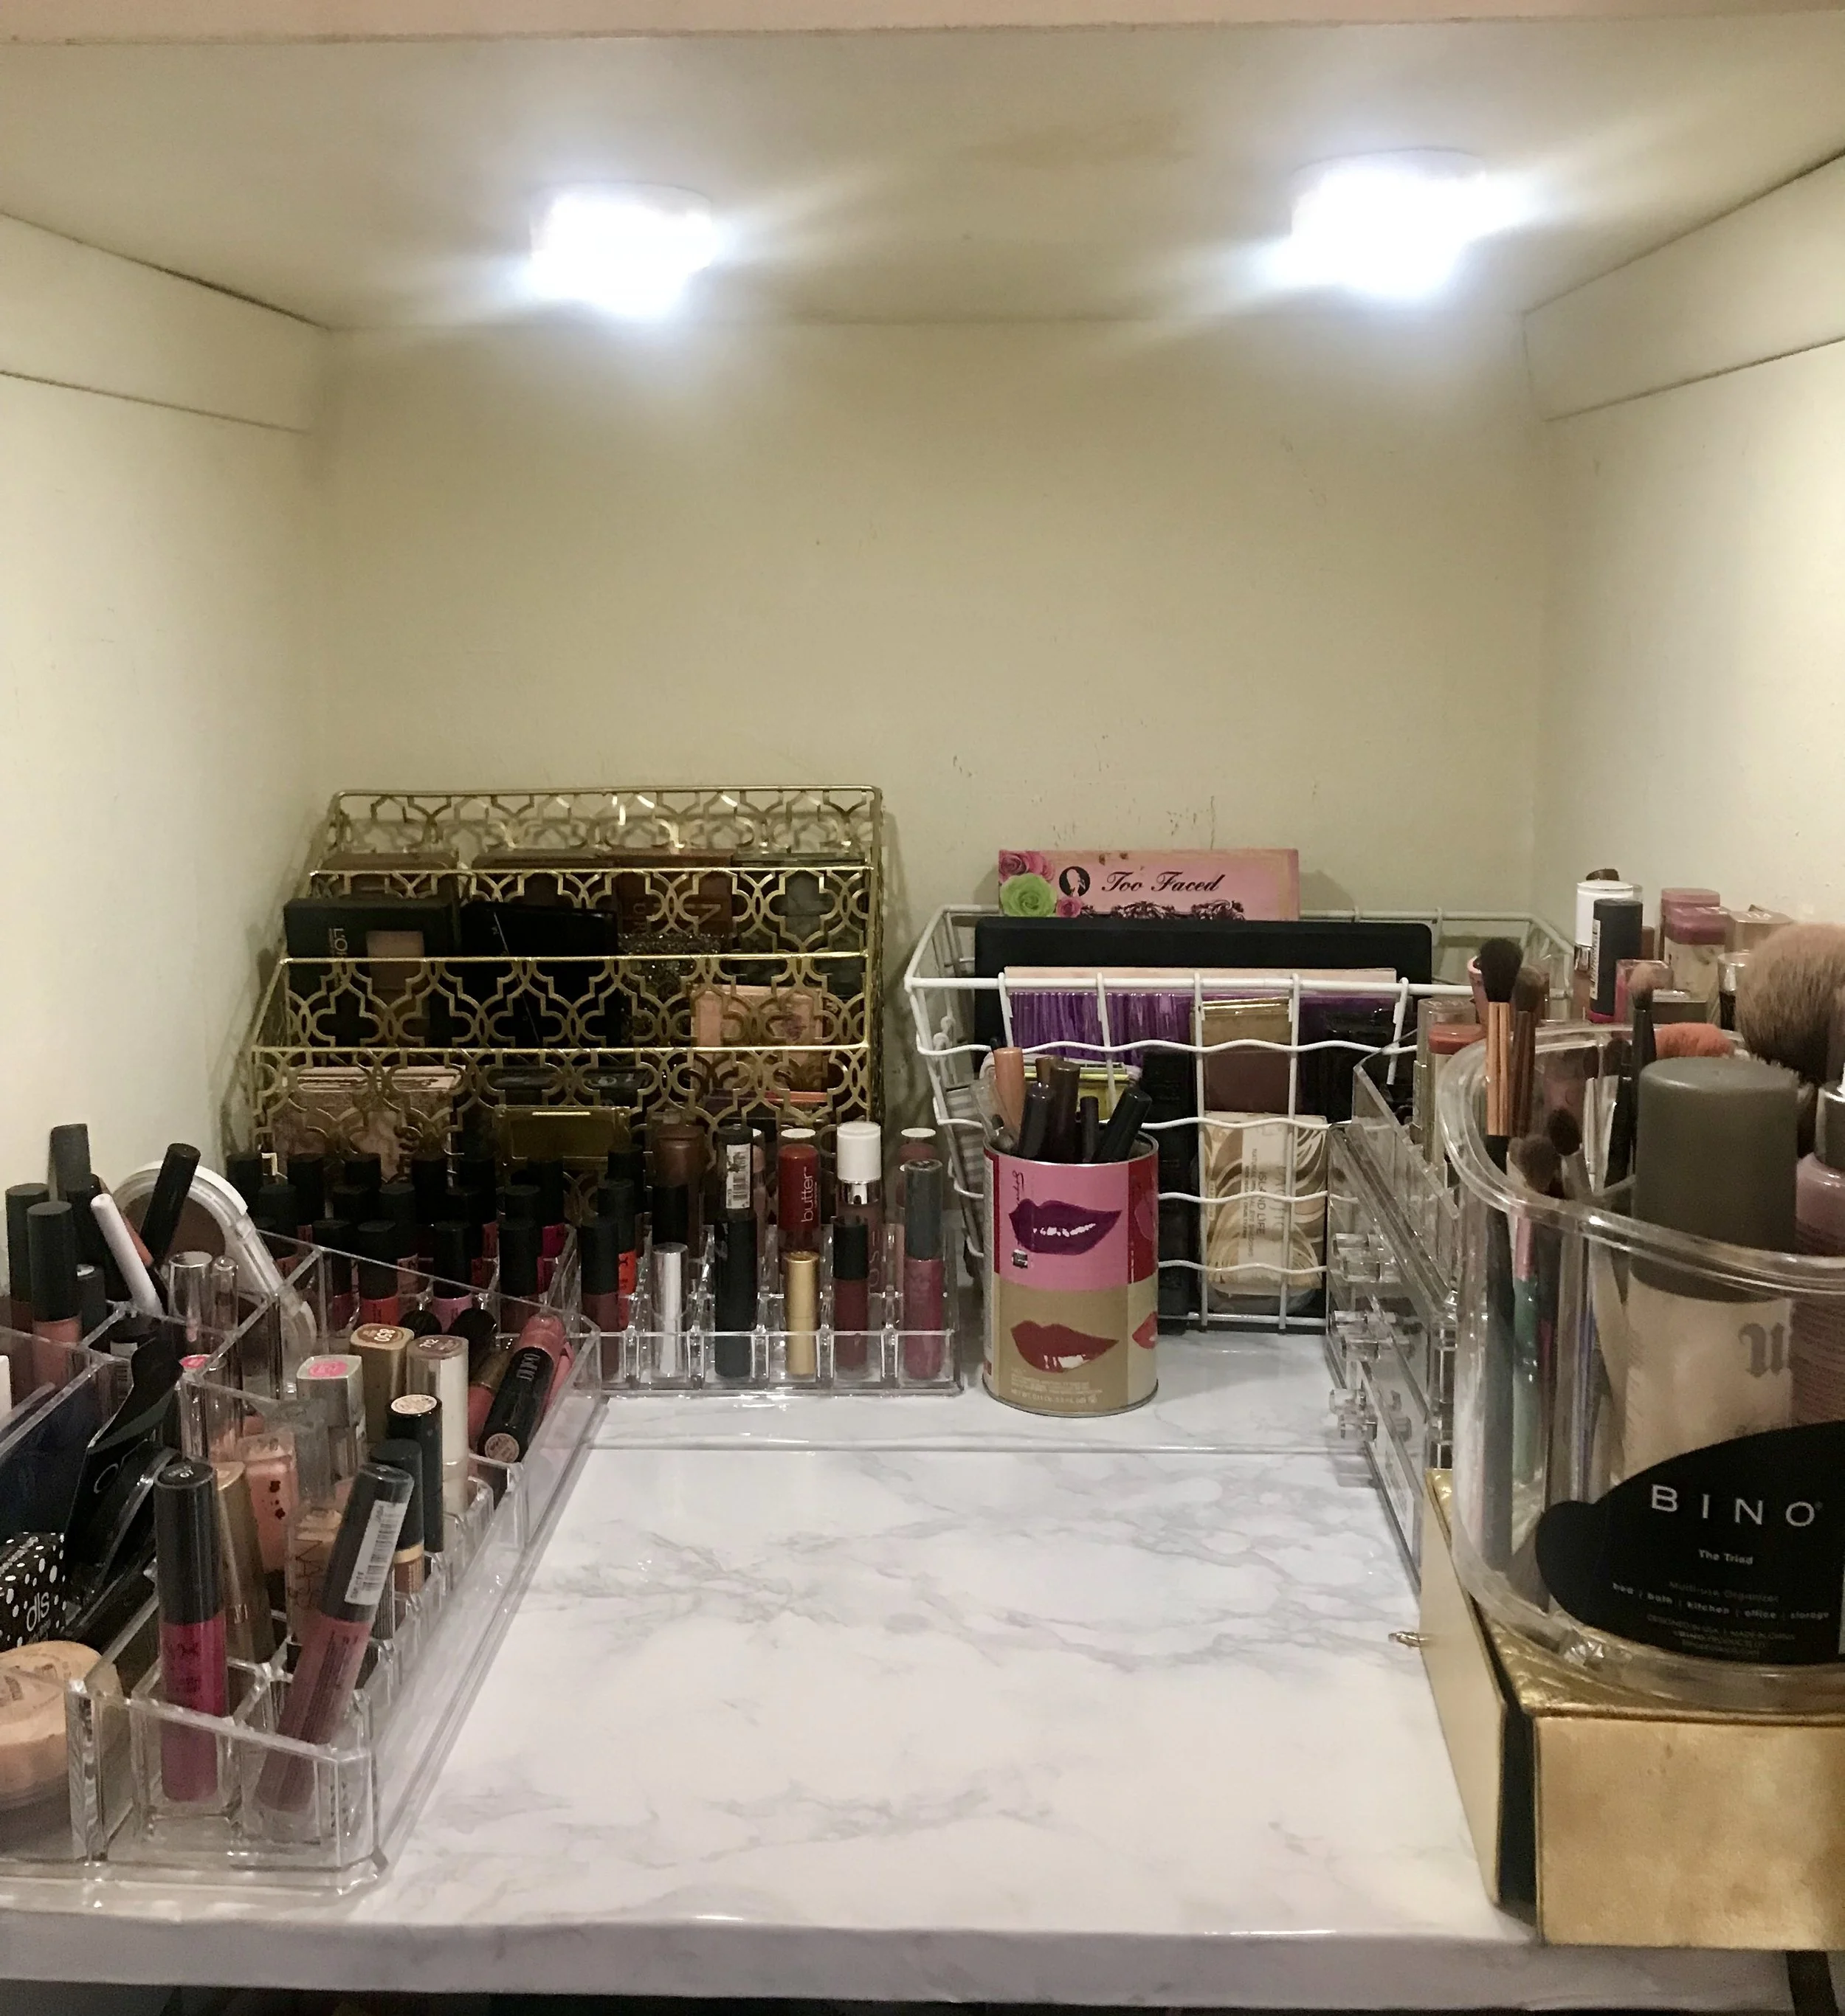
After organizing my make-up, I just felt like my shelving needed something to brighten it up and make it pretty enough for blog material! After doing some shopping on Amazon, I order LED battery operated Puck Lights and Marble Contact Paper for the shelf!
The lights came pretty quickly, but I waited a little awhile for the contact paper. As a result, this post took about a month to come to fruition!
I am in love with LED puck lights. You install batteries, and they have sticky bottoms, so you can use them anywhere you want some easy light without having to deal with cords, wires, and electrical. This is great for a closet, under cabinet lighting, or in a display case or hutch. I was able to install these in less than five minutes.
I'll be honest, I never used contact paper on my own, so I was a little nervous about doing it, but the contact paper I purchased was higher quality, so I felt it was easy to apply without having to worry about wrinkles or messing up! I actually removed the shelving (two pieces of wood to make one shelf) from the closet and wrapped them in the contact paper. This took me about 20-30 minutes and was super easy!
As a result of this project, I am obsessed with puck lighting and marble contact paper and plan to use them in more ways and projects in my house. The exact contact paper and LED lights are linked up below! I used the contact paper from PracticalWs and the SOLLED LED puck lights.
Here are some photos of my finished make-up storage transformation project:
Installation of LED puck lights (prior to contact paper). They can be turned on with a touch or a remote control!
Final look of storage with lighting and contact paper
After interacting with my storage space, I'm so glad I did this! My make up is so much more organized, attractive, and easy to see. I'm using more of my make-up to create a variety of different looks!
I'd love to hear your thoughts on these storage ideas, how you may plan to use them, or what else you have done to store and organize your make-up!
Have a great weekend! See below for links to actual or similar products that I used!
